Fugubiki Work in Progress
Here are some of the steps for making a fugibiki.
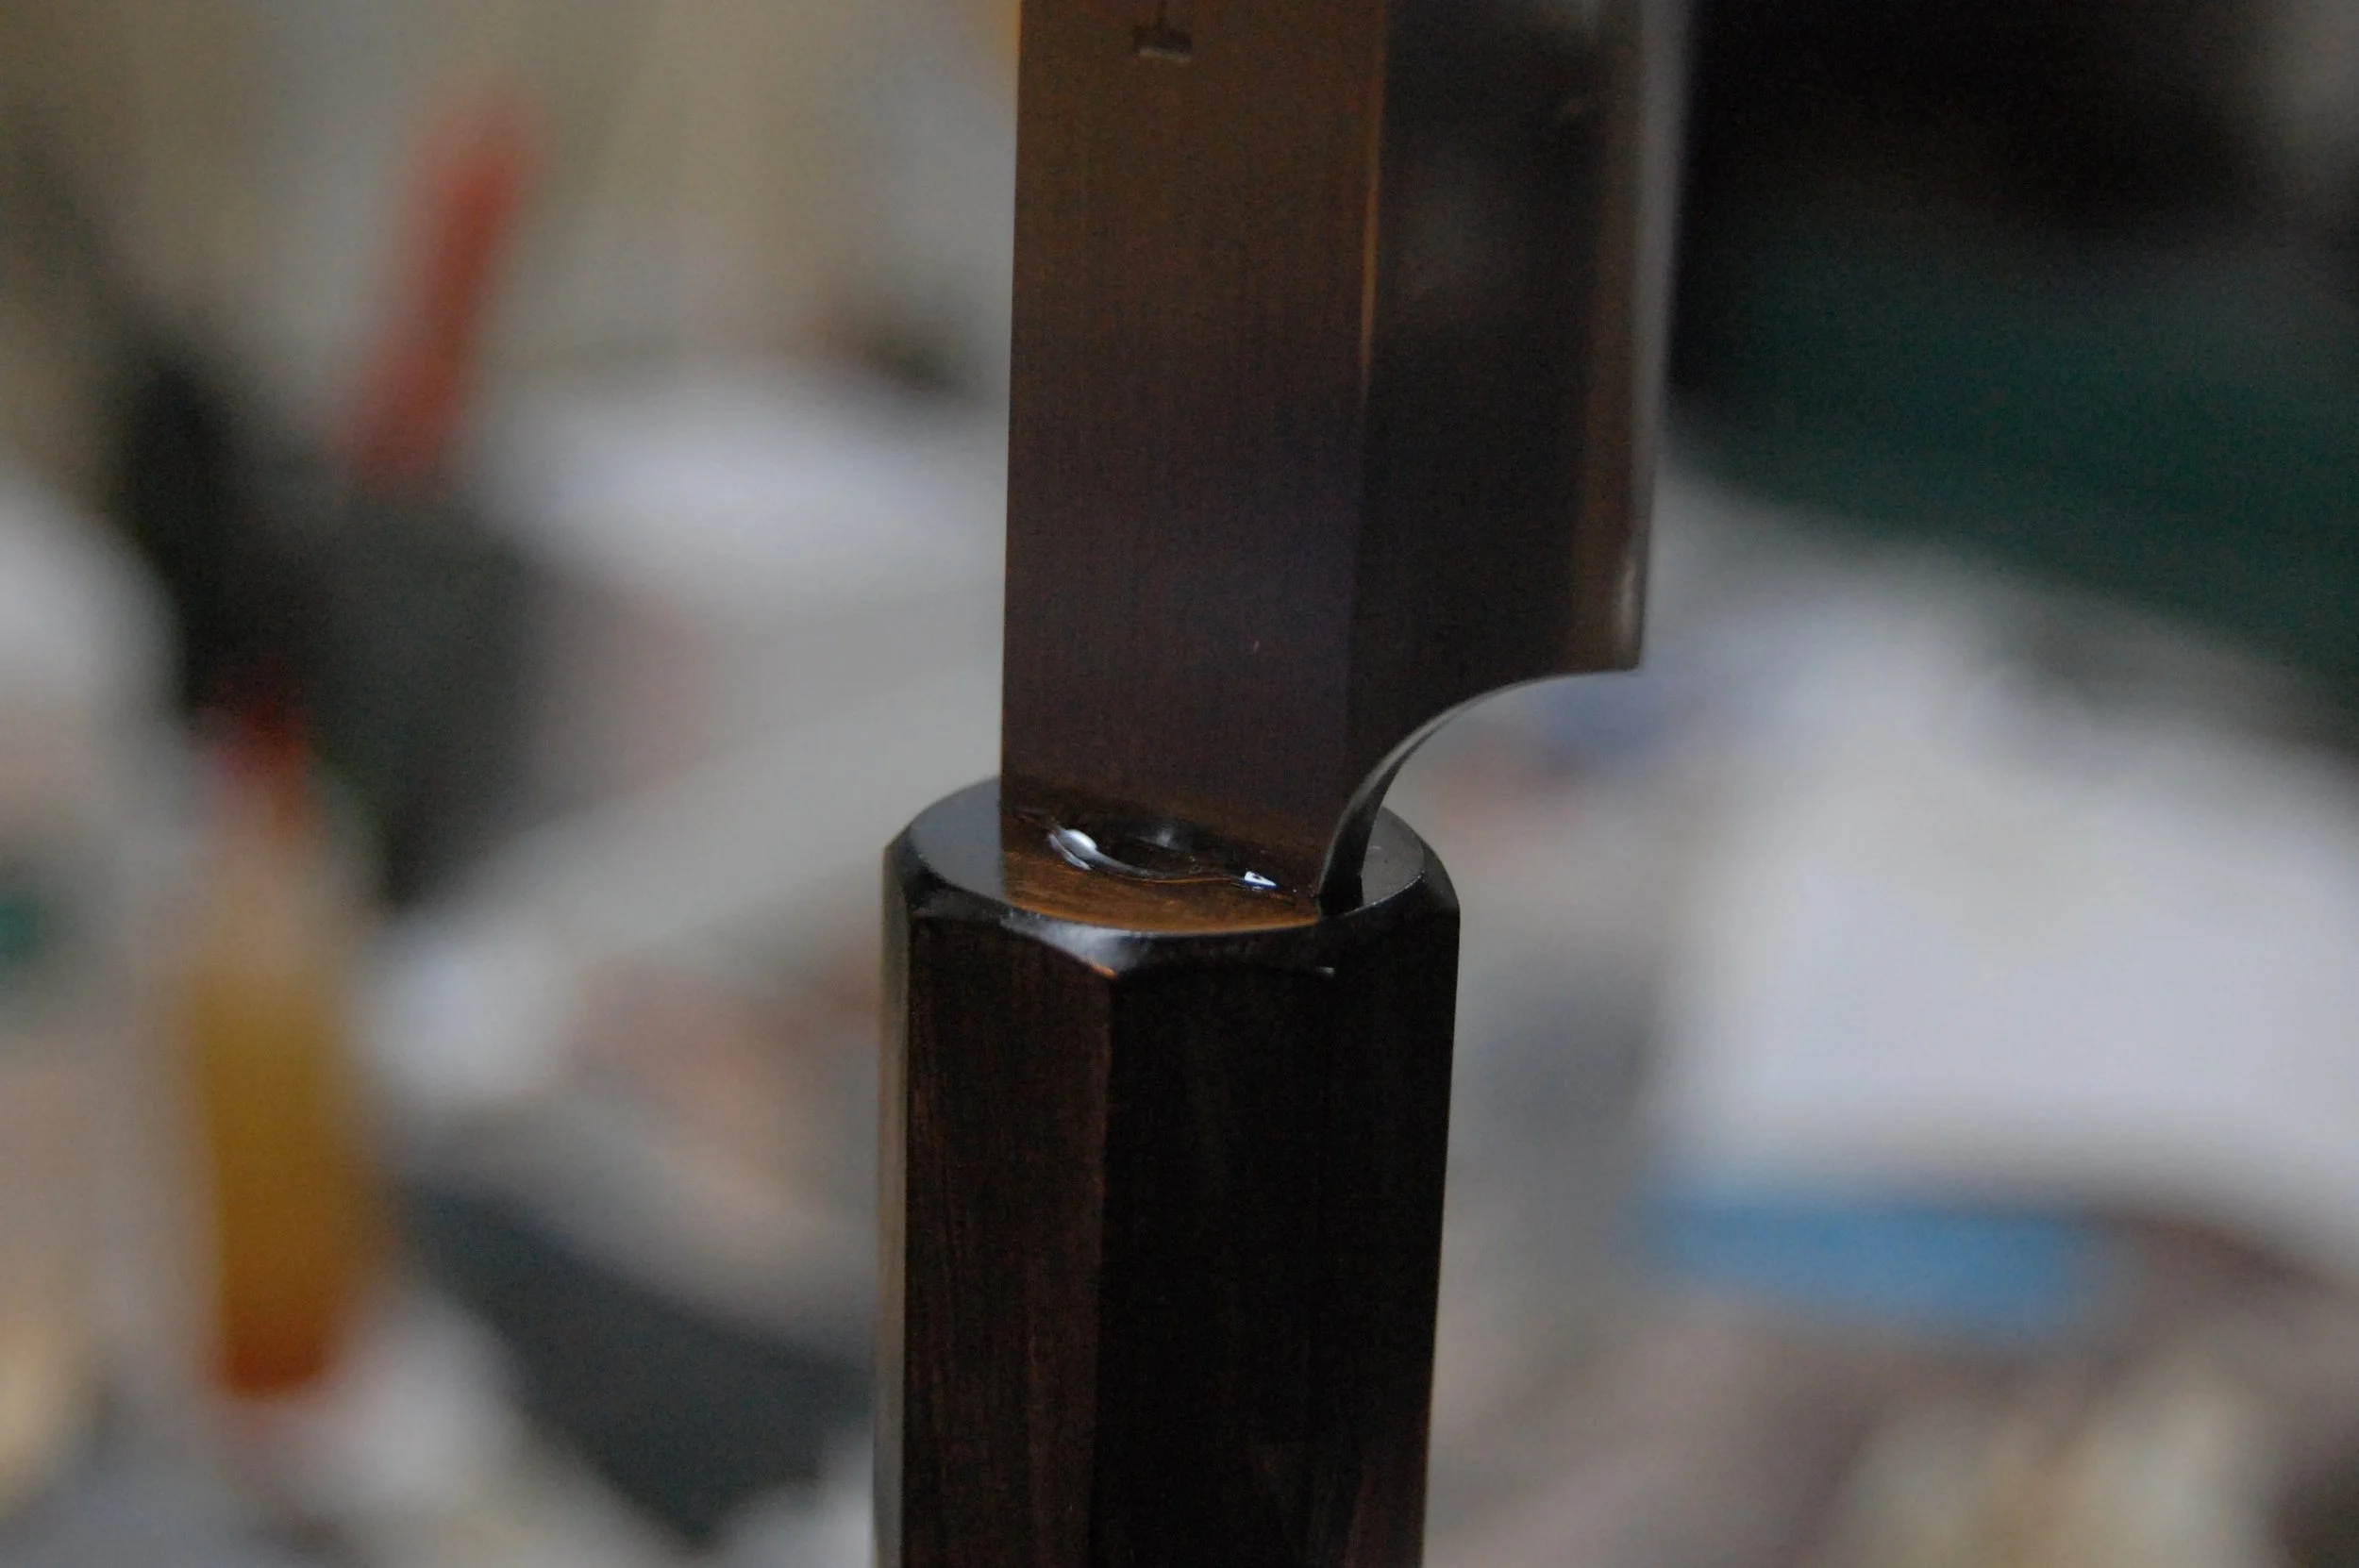
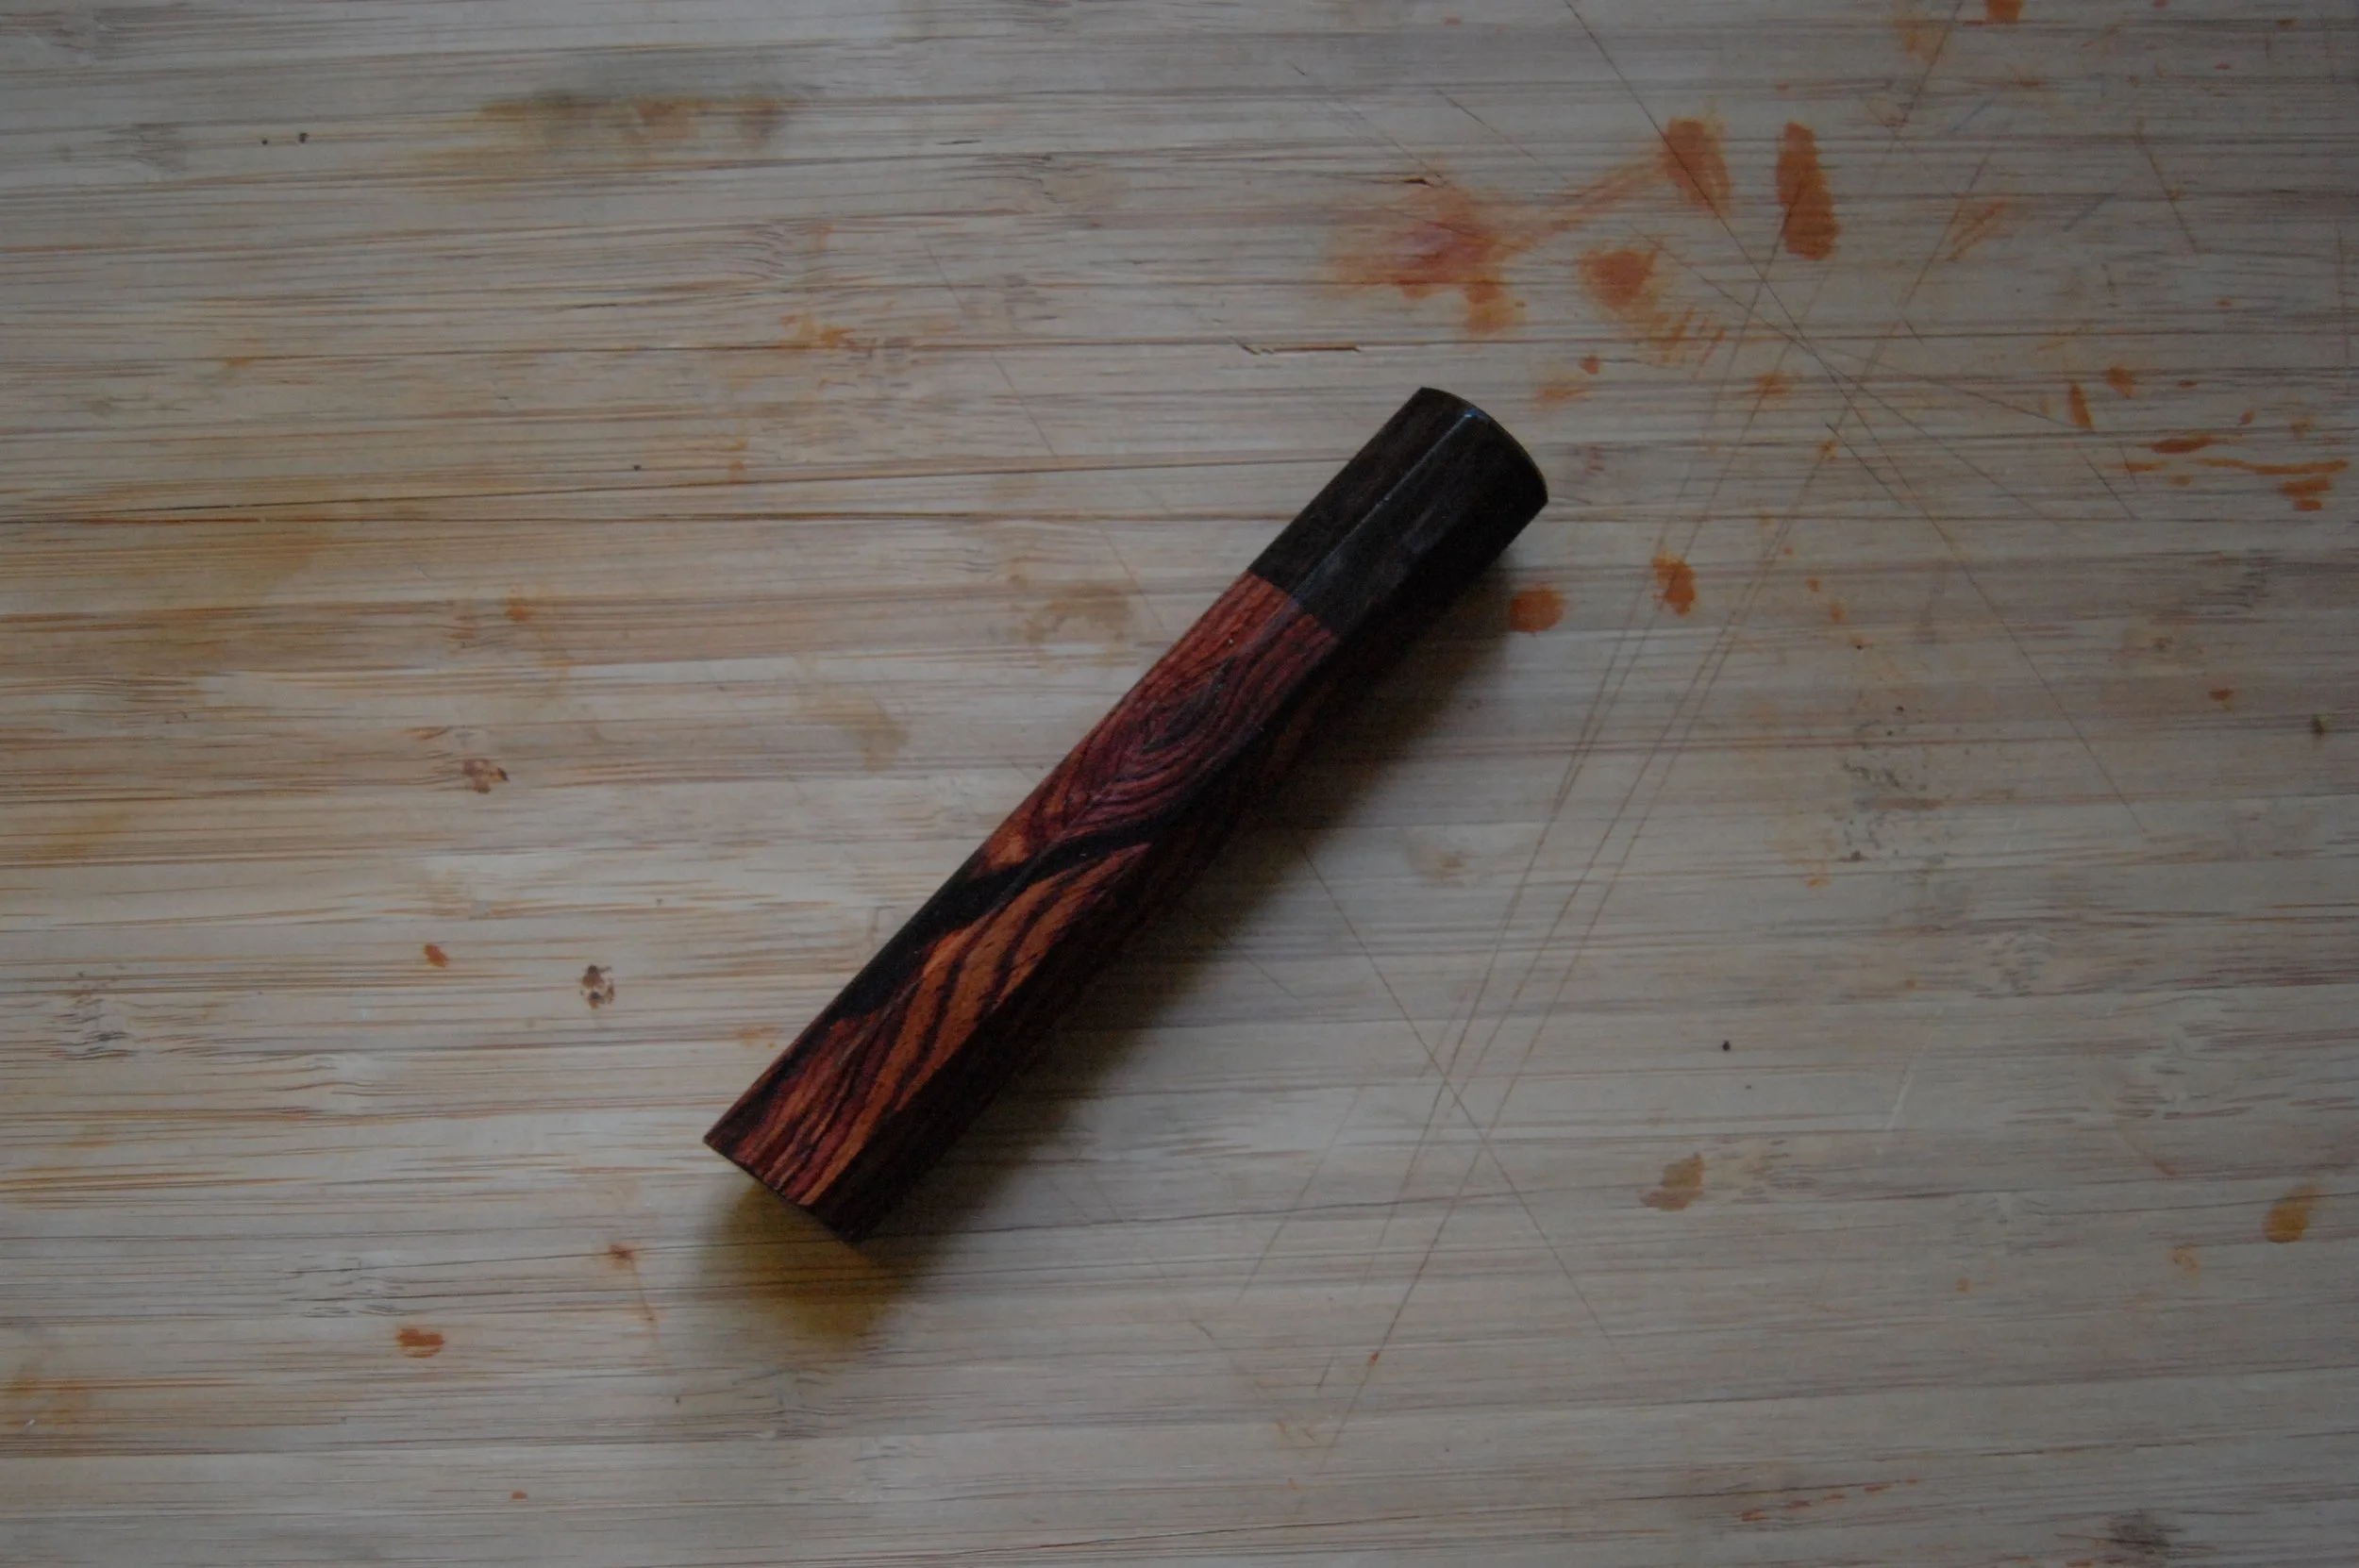
I already have the handle done, so here is that.
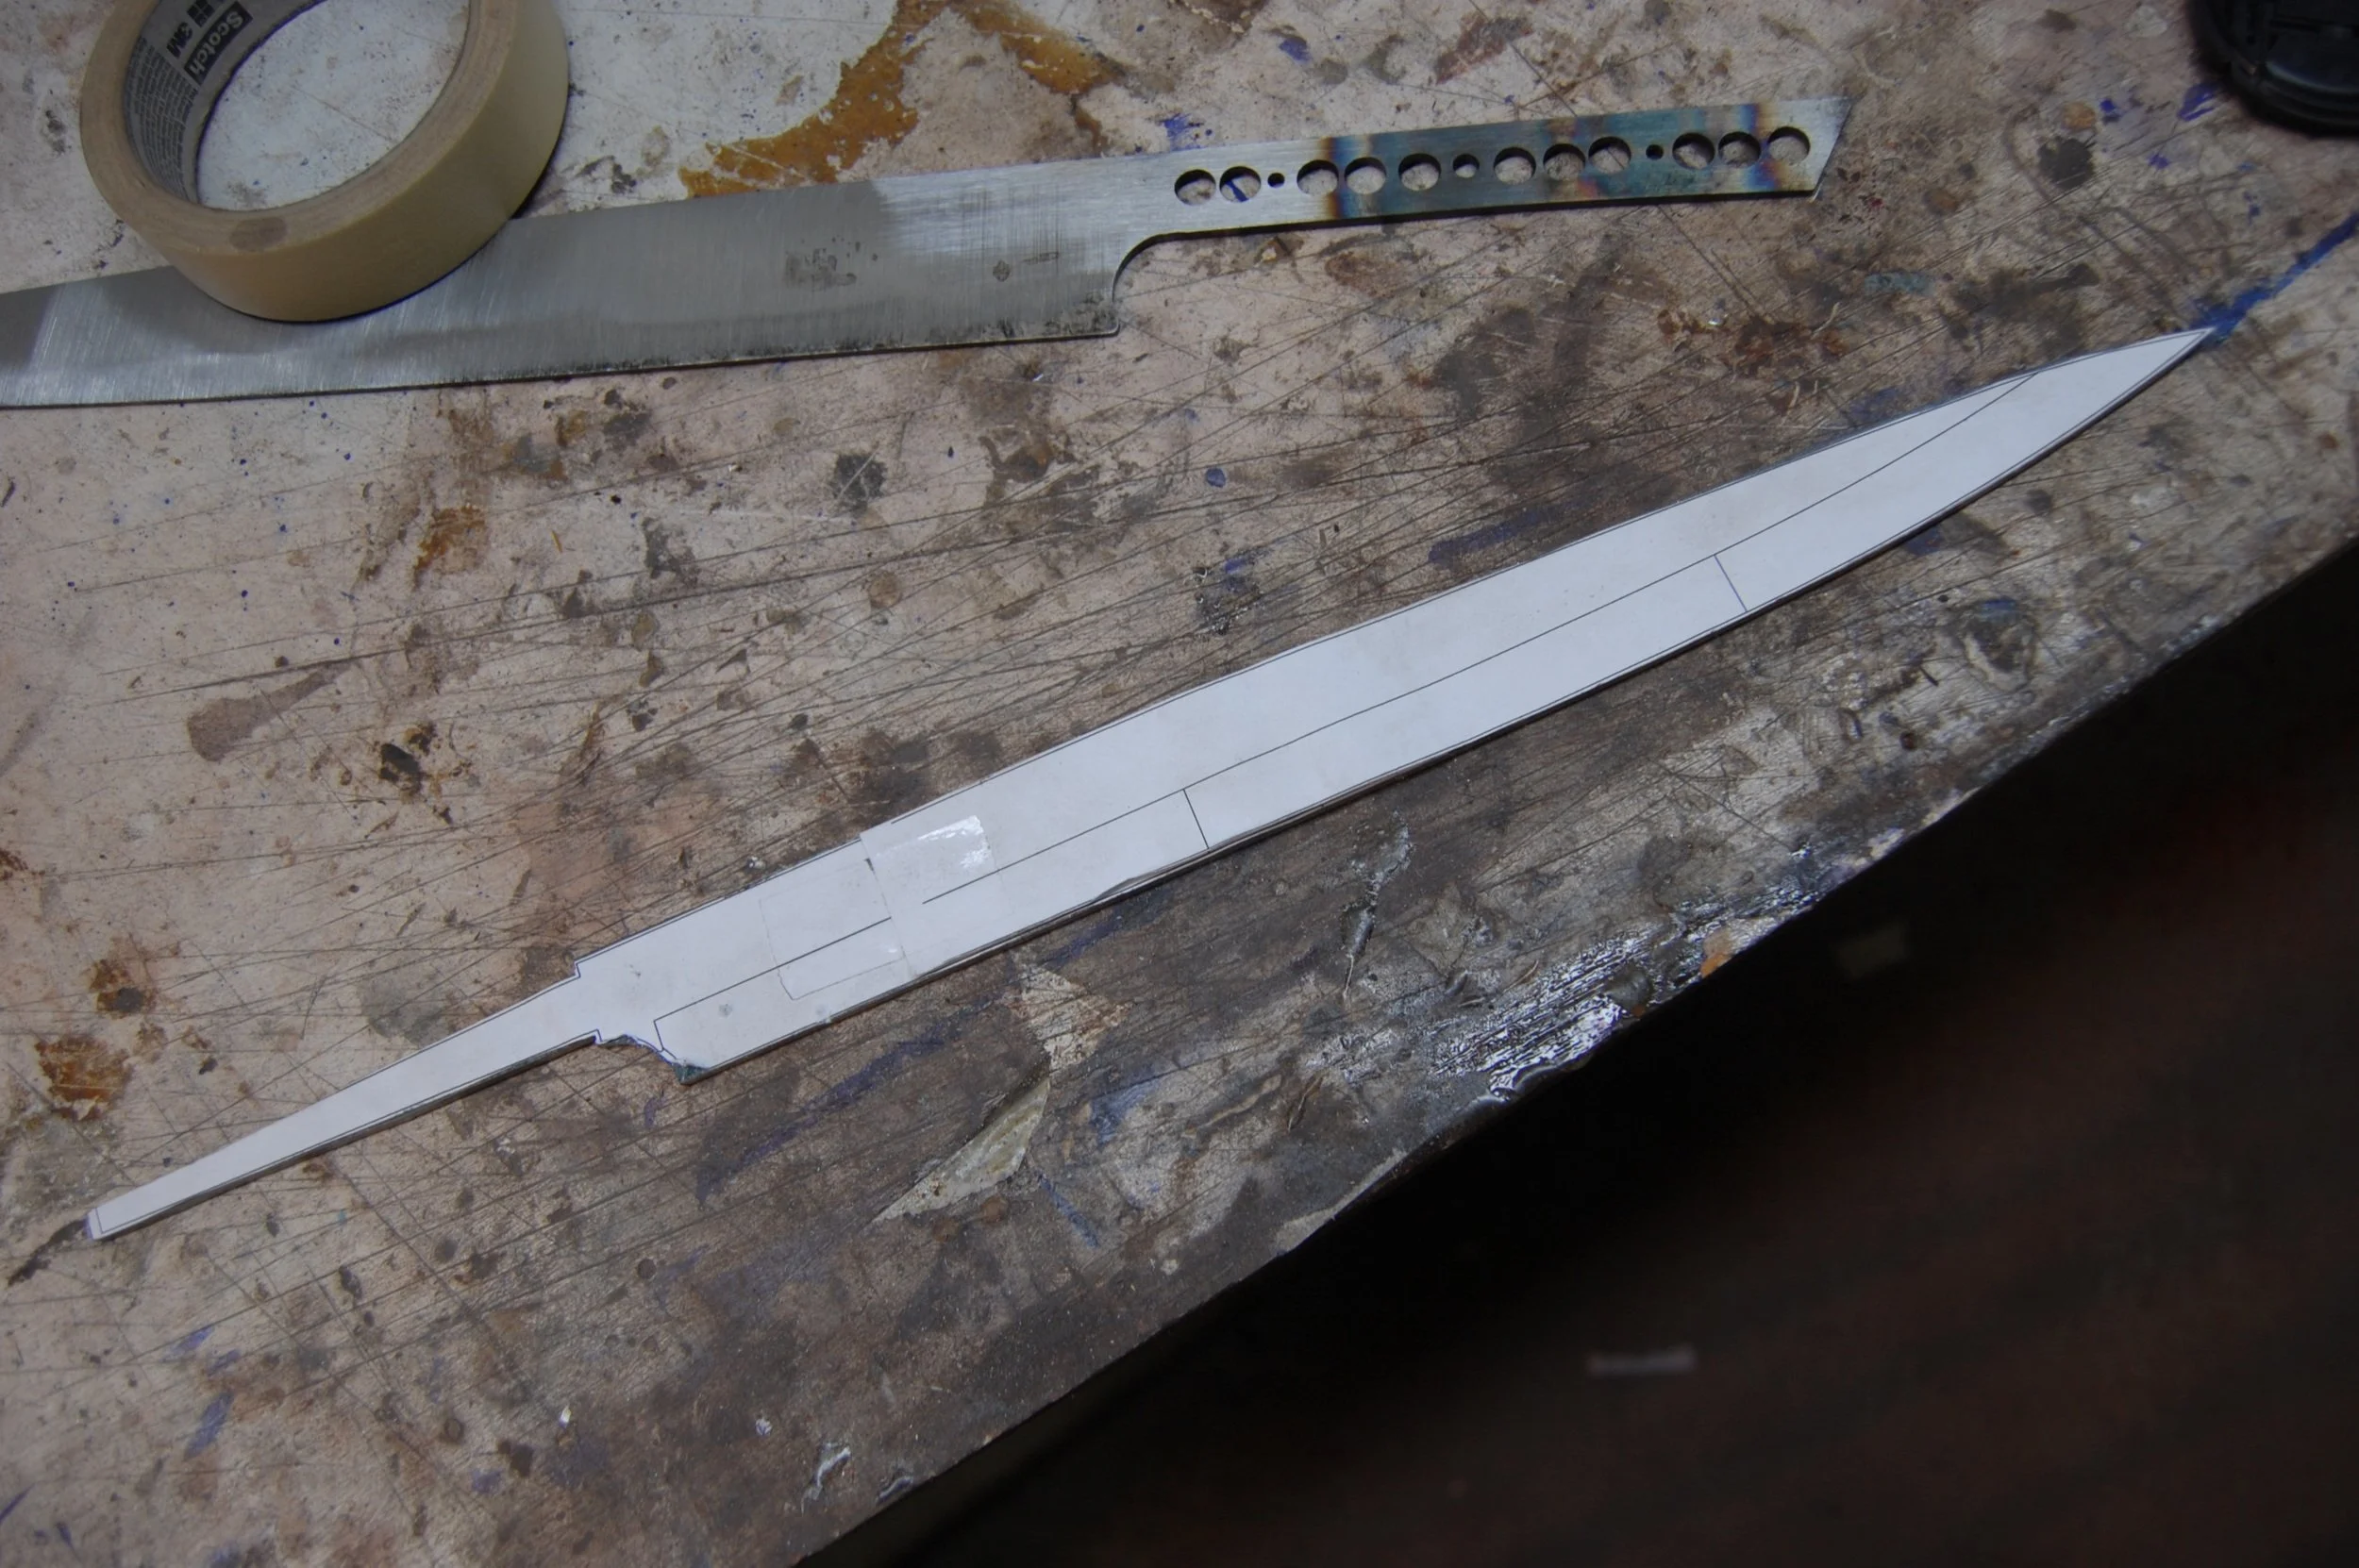
Template is adhered and the profile is cut and ground.
After the profile was cut, I ground the kireha/main bevel before heat treat. I don't have any photos of heat treat, but I did three thermal cycles, then heat to austenite, soak, quench, straighten, and temper.
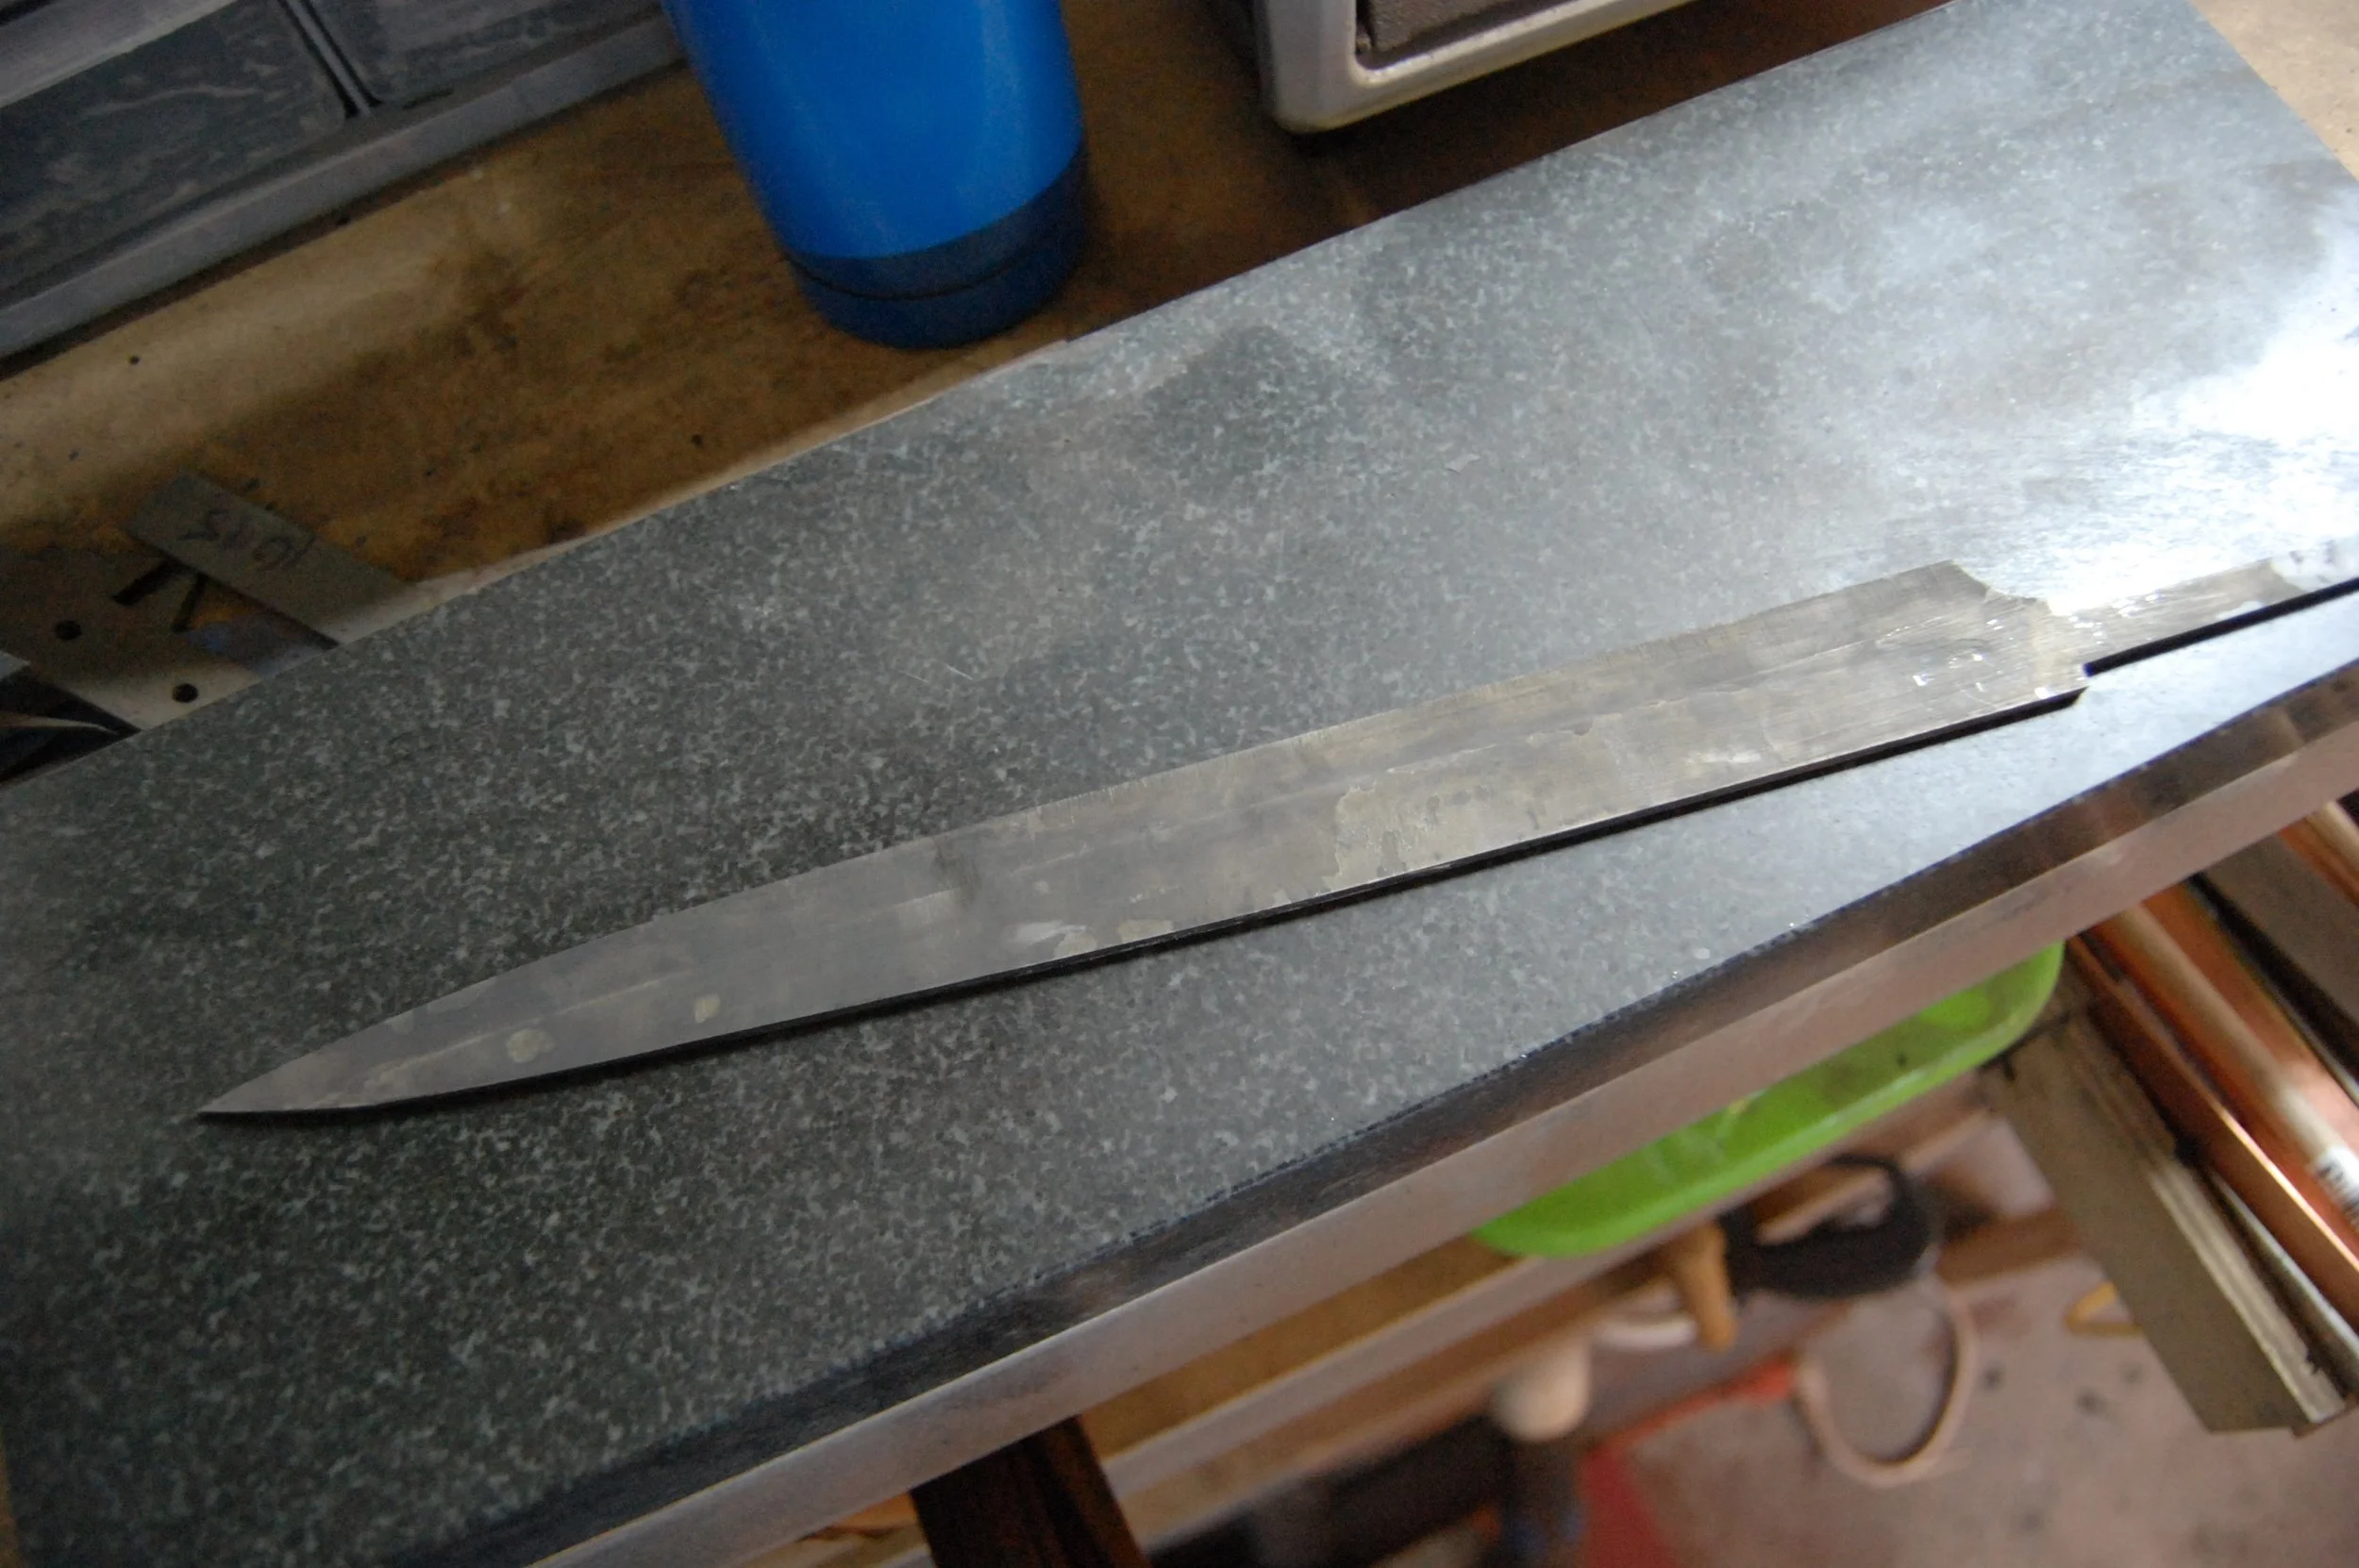
Double checking for warpage after temper on the granite plate.
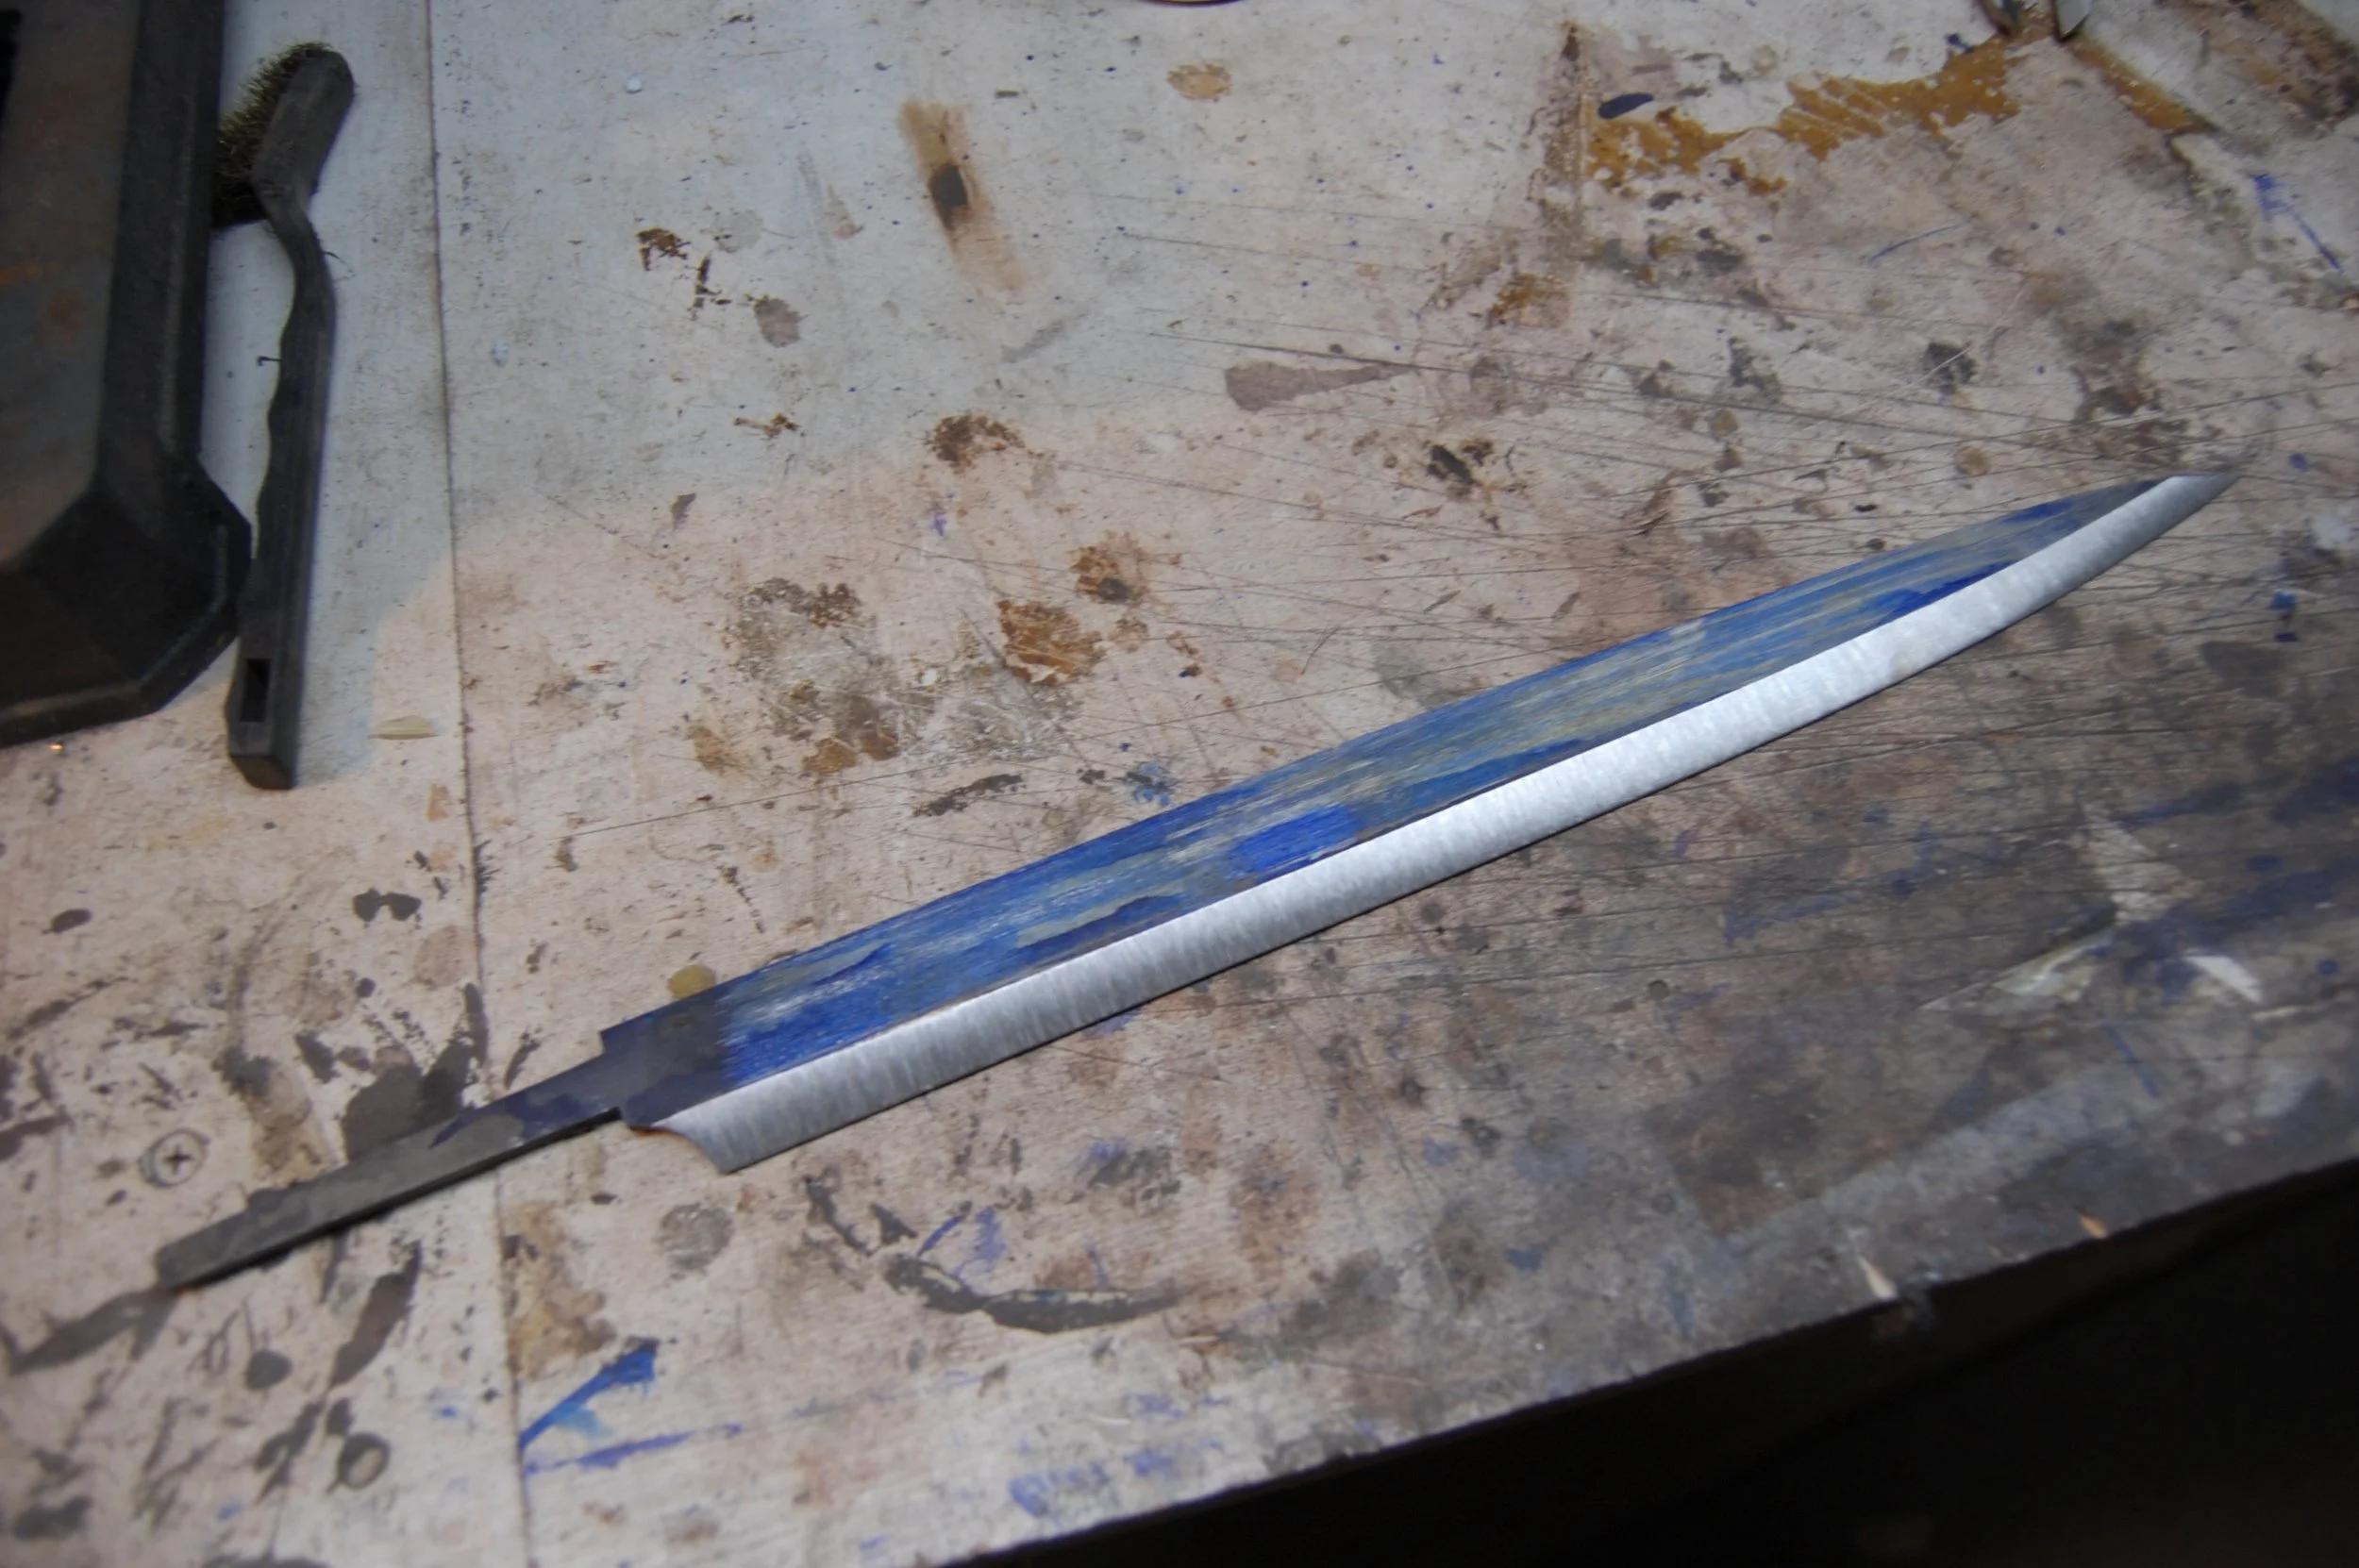
Grinding the kireha.
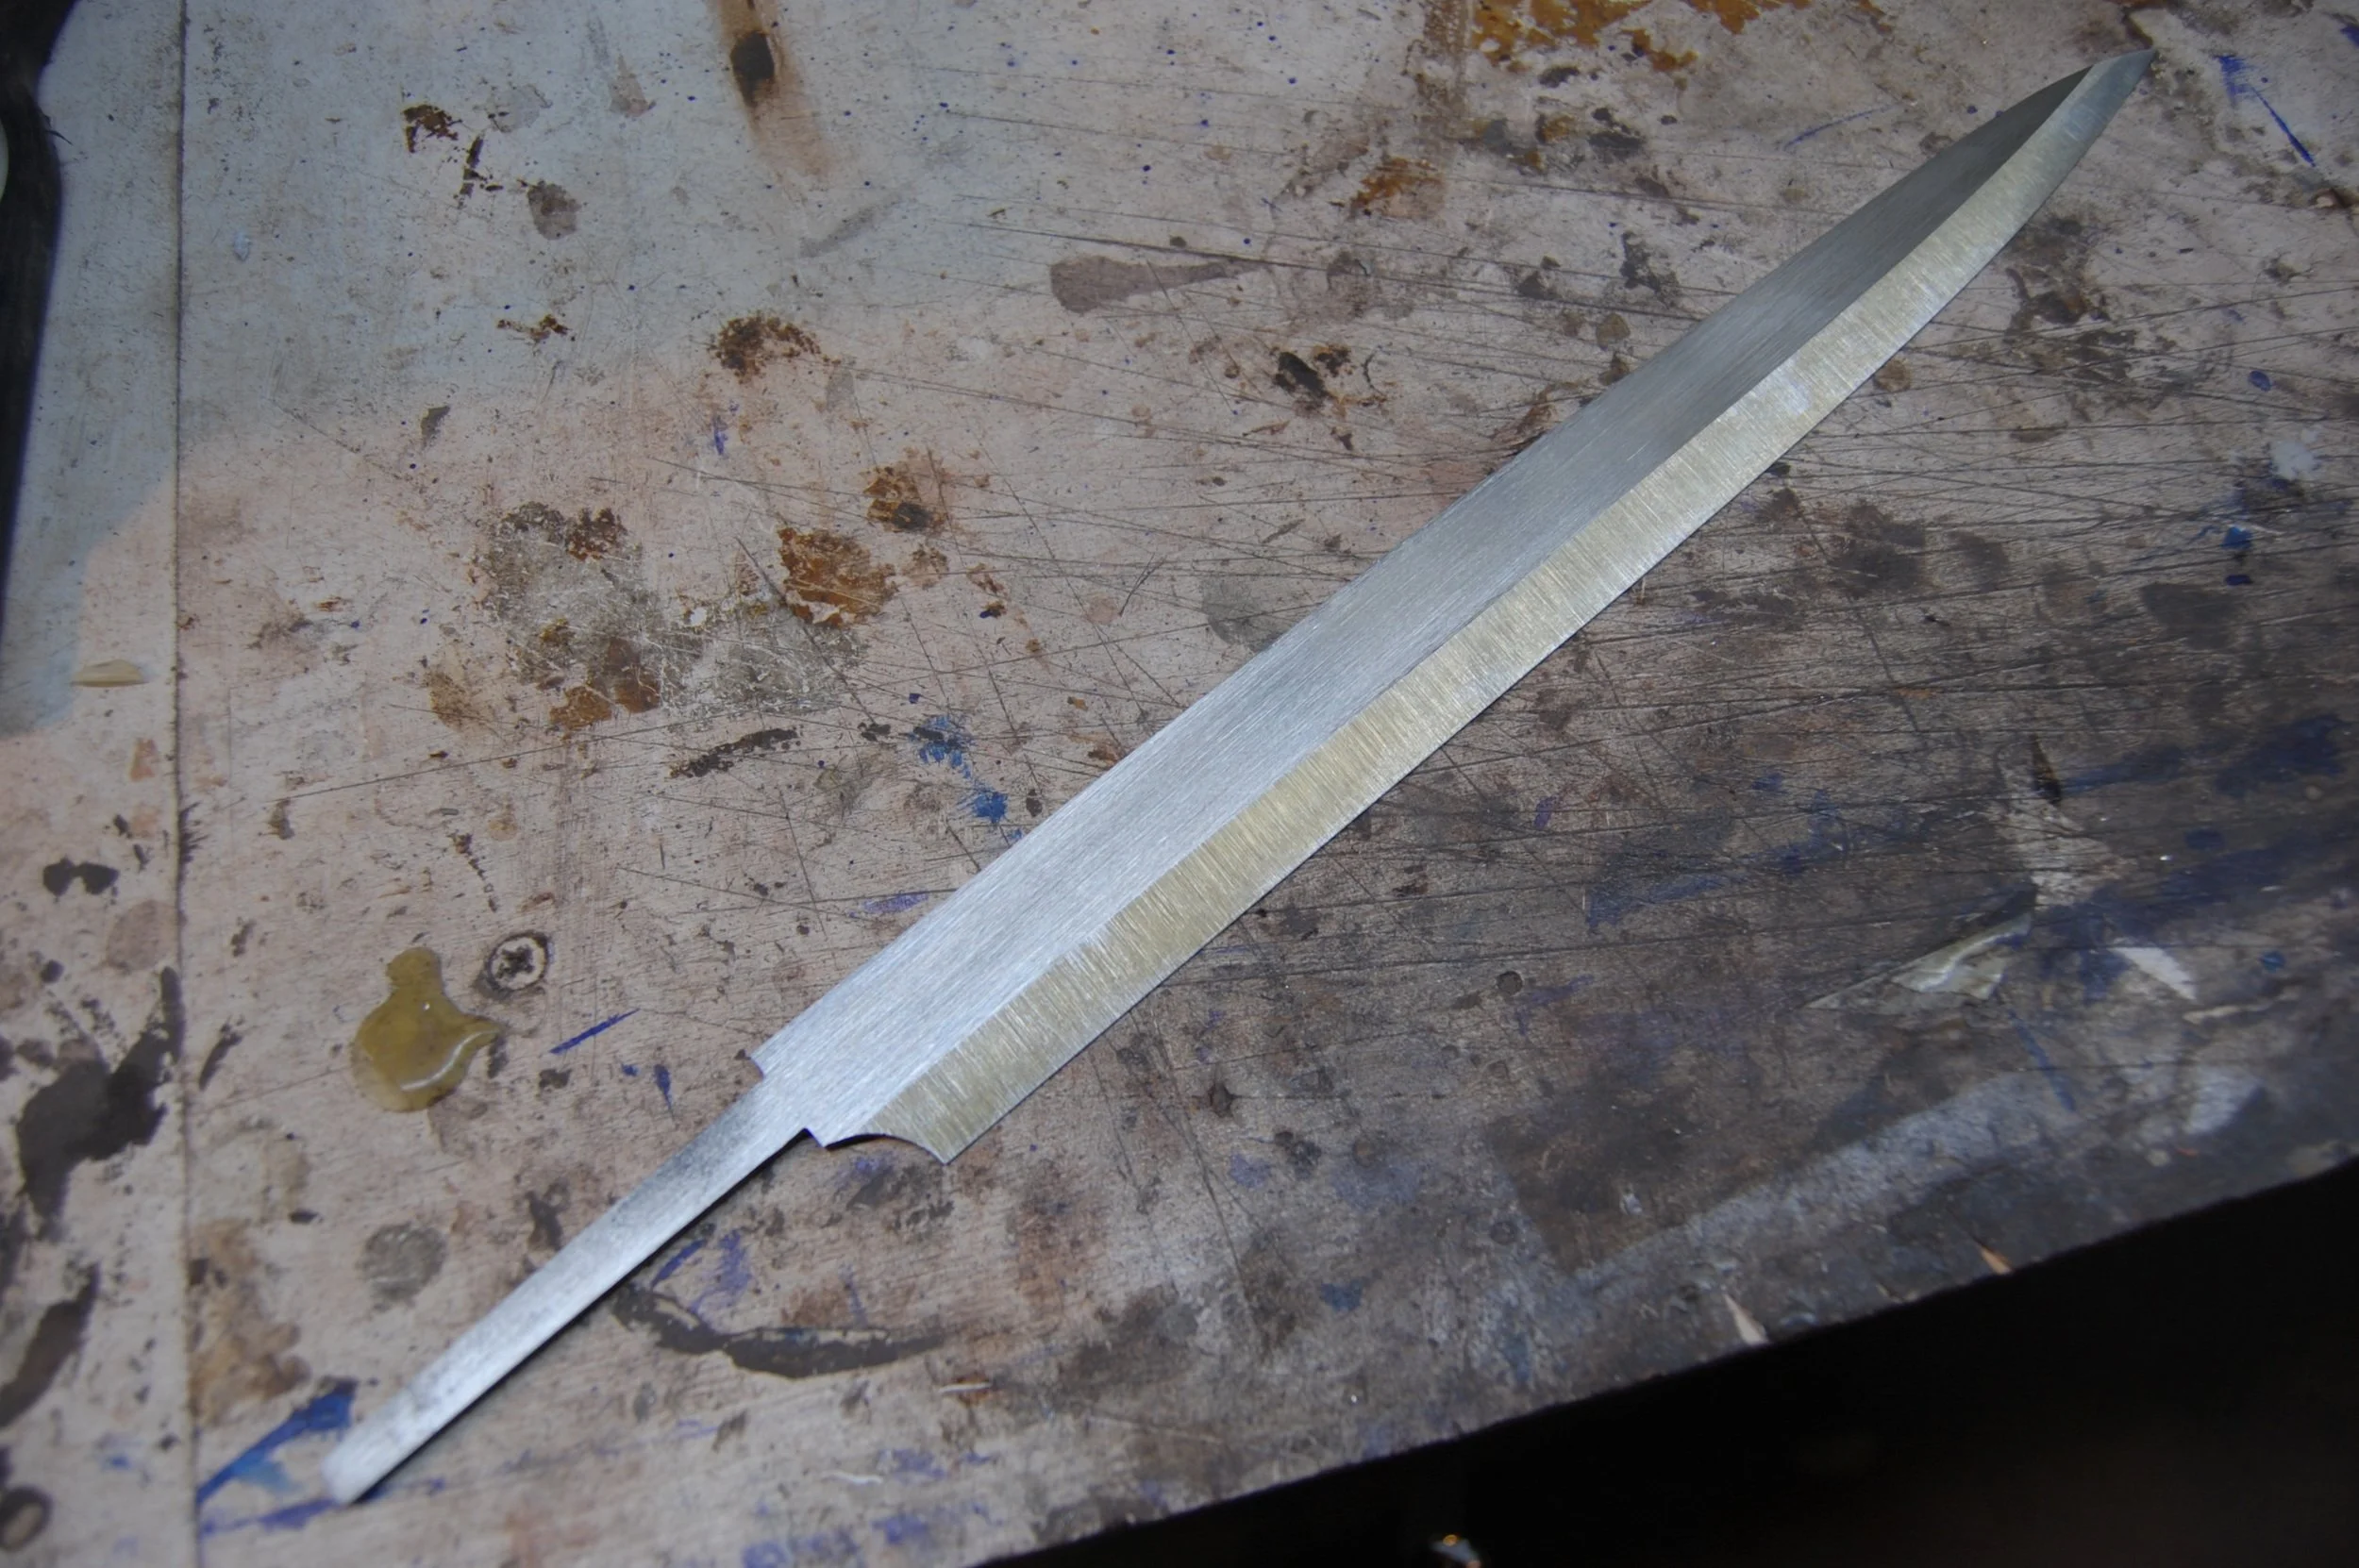
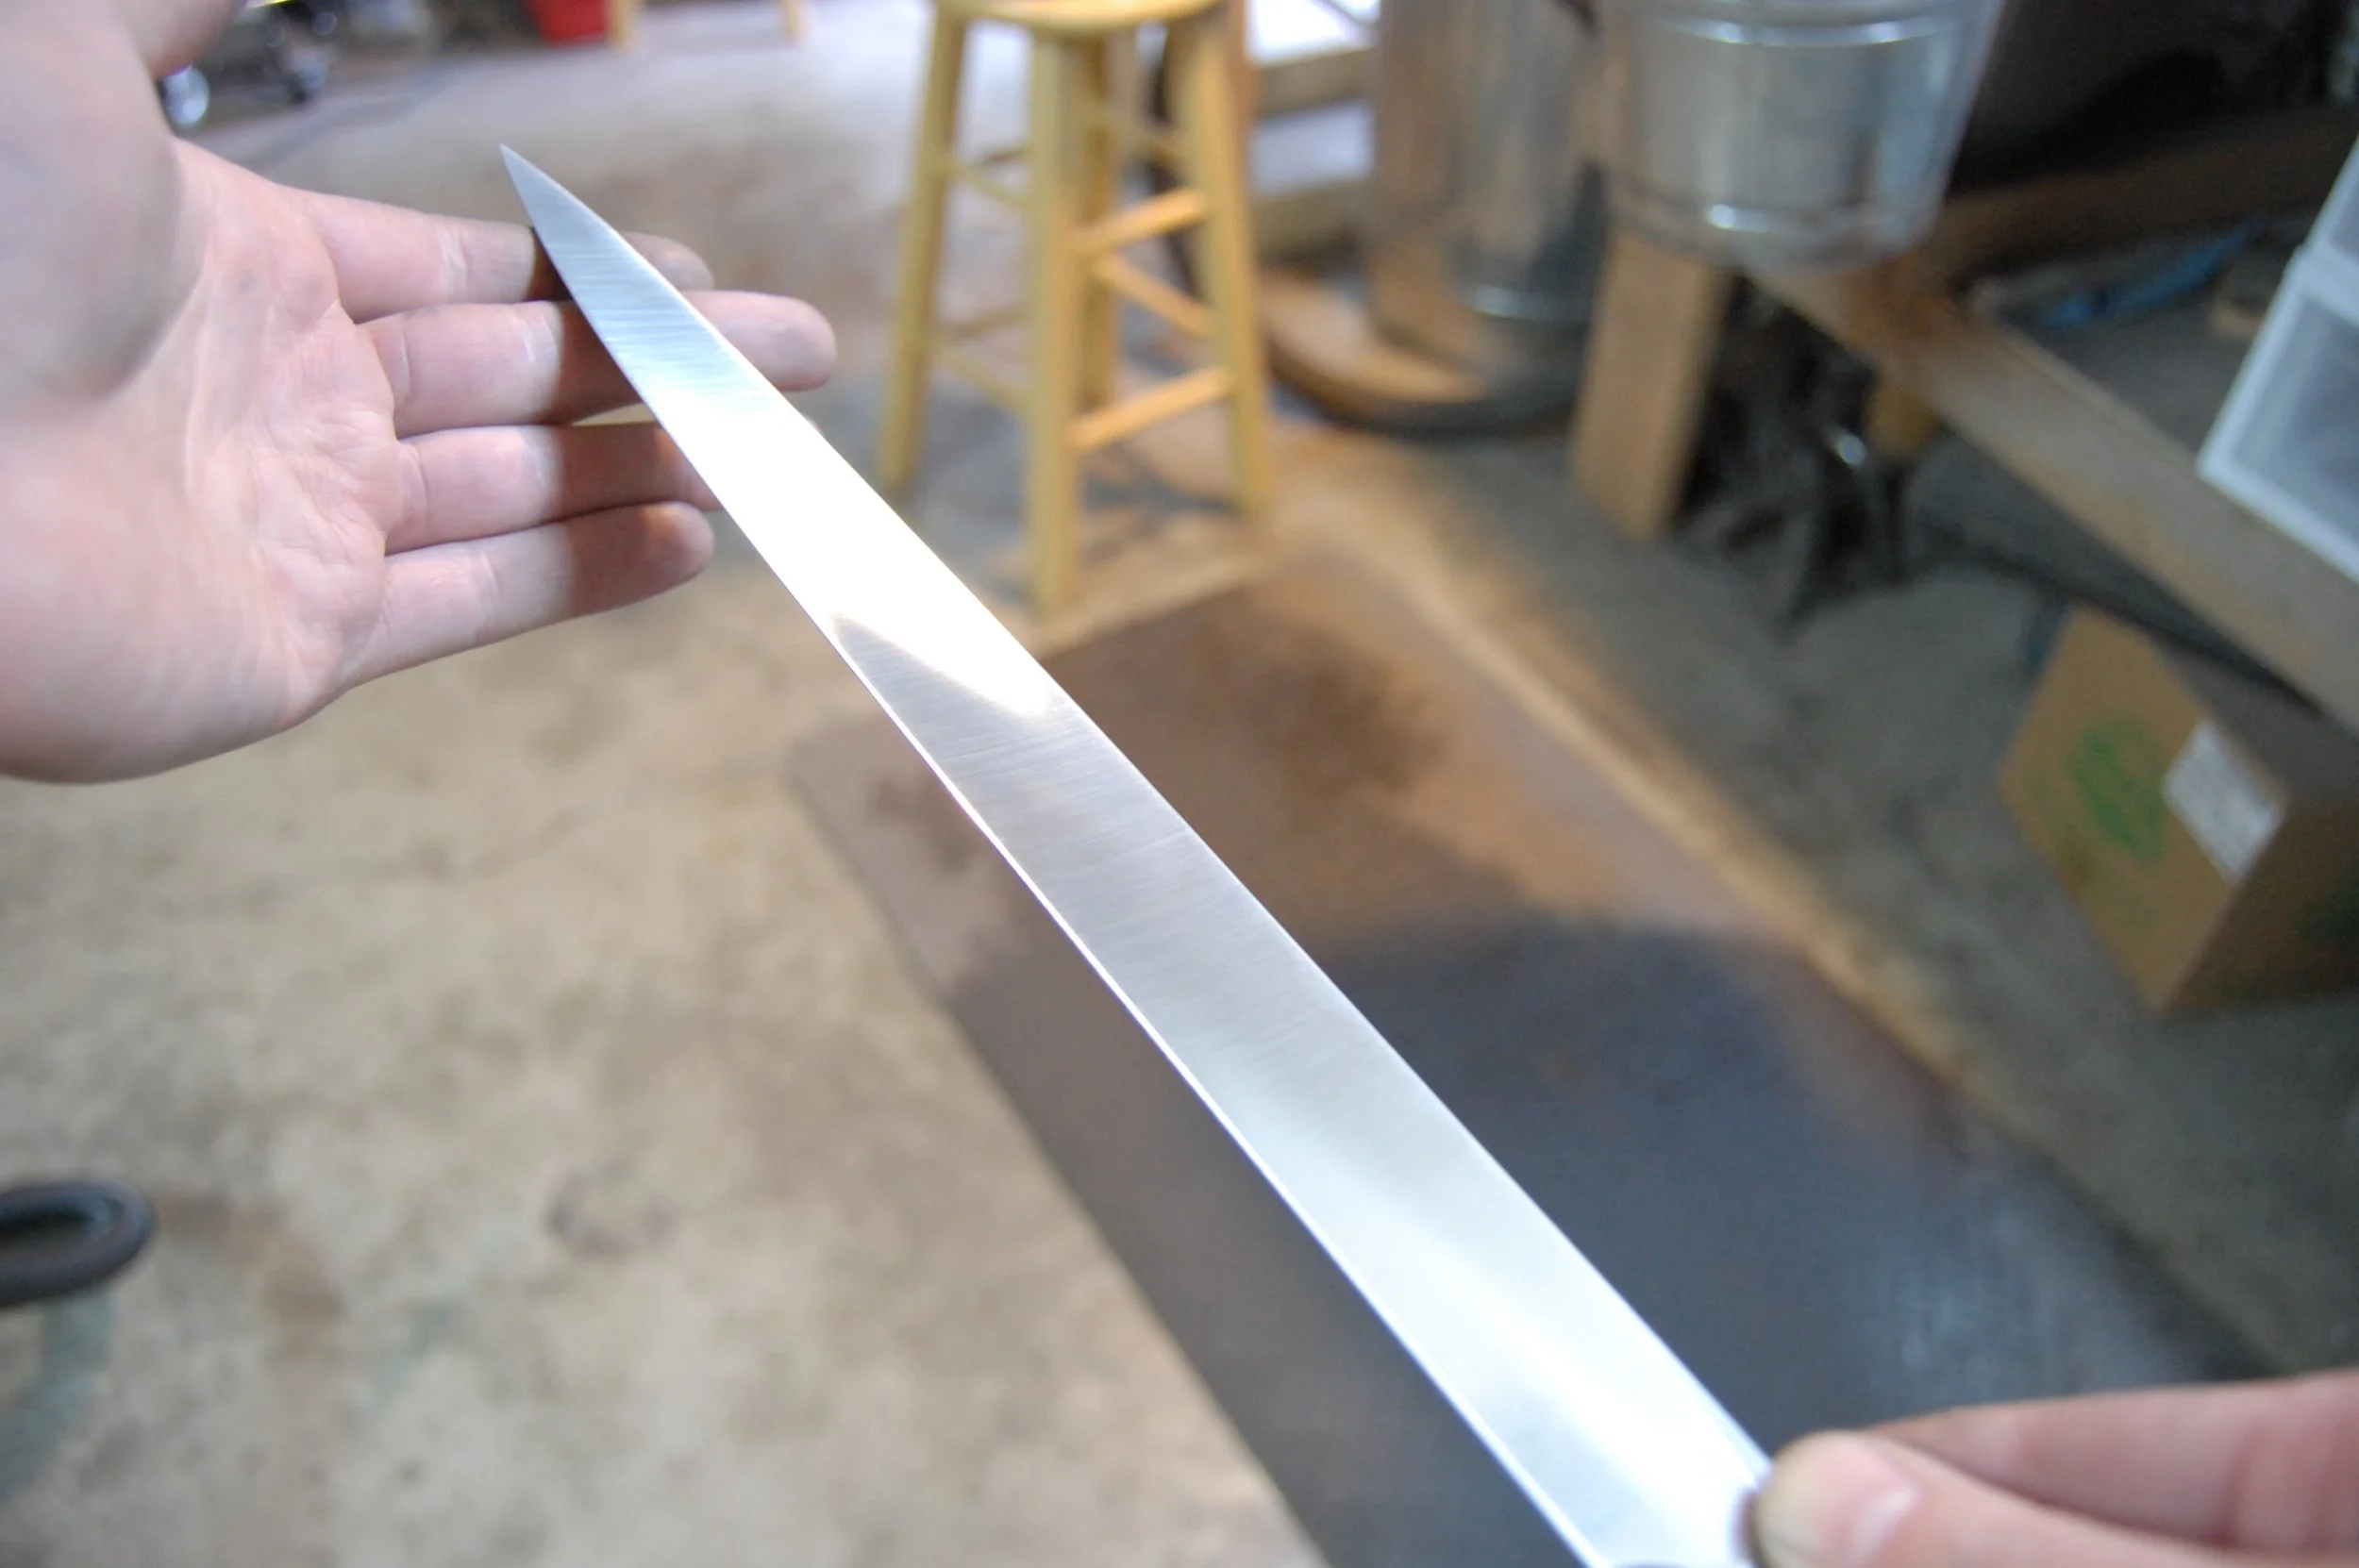
Hira/flat just after initial grinding.
Urasuki being ground in.
After that I moved up in grit and rounded the spine and choil.
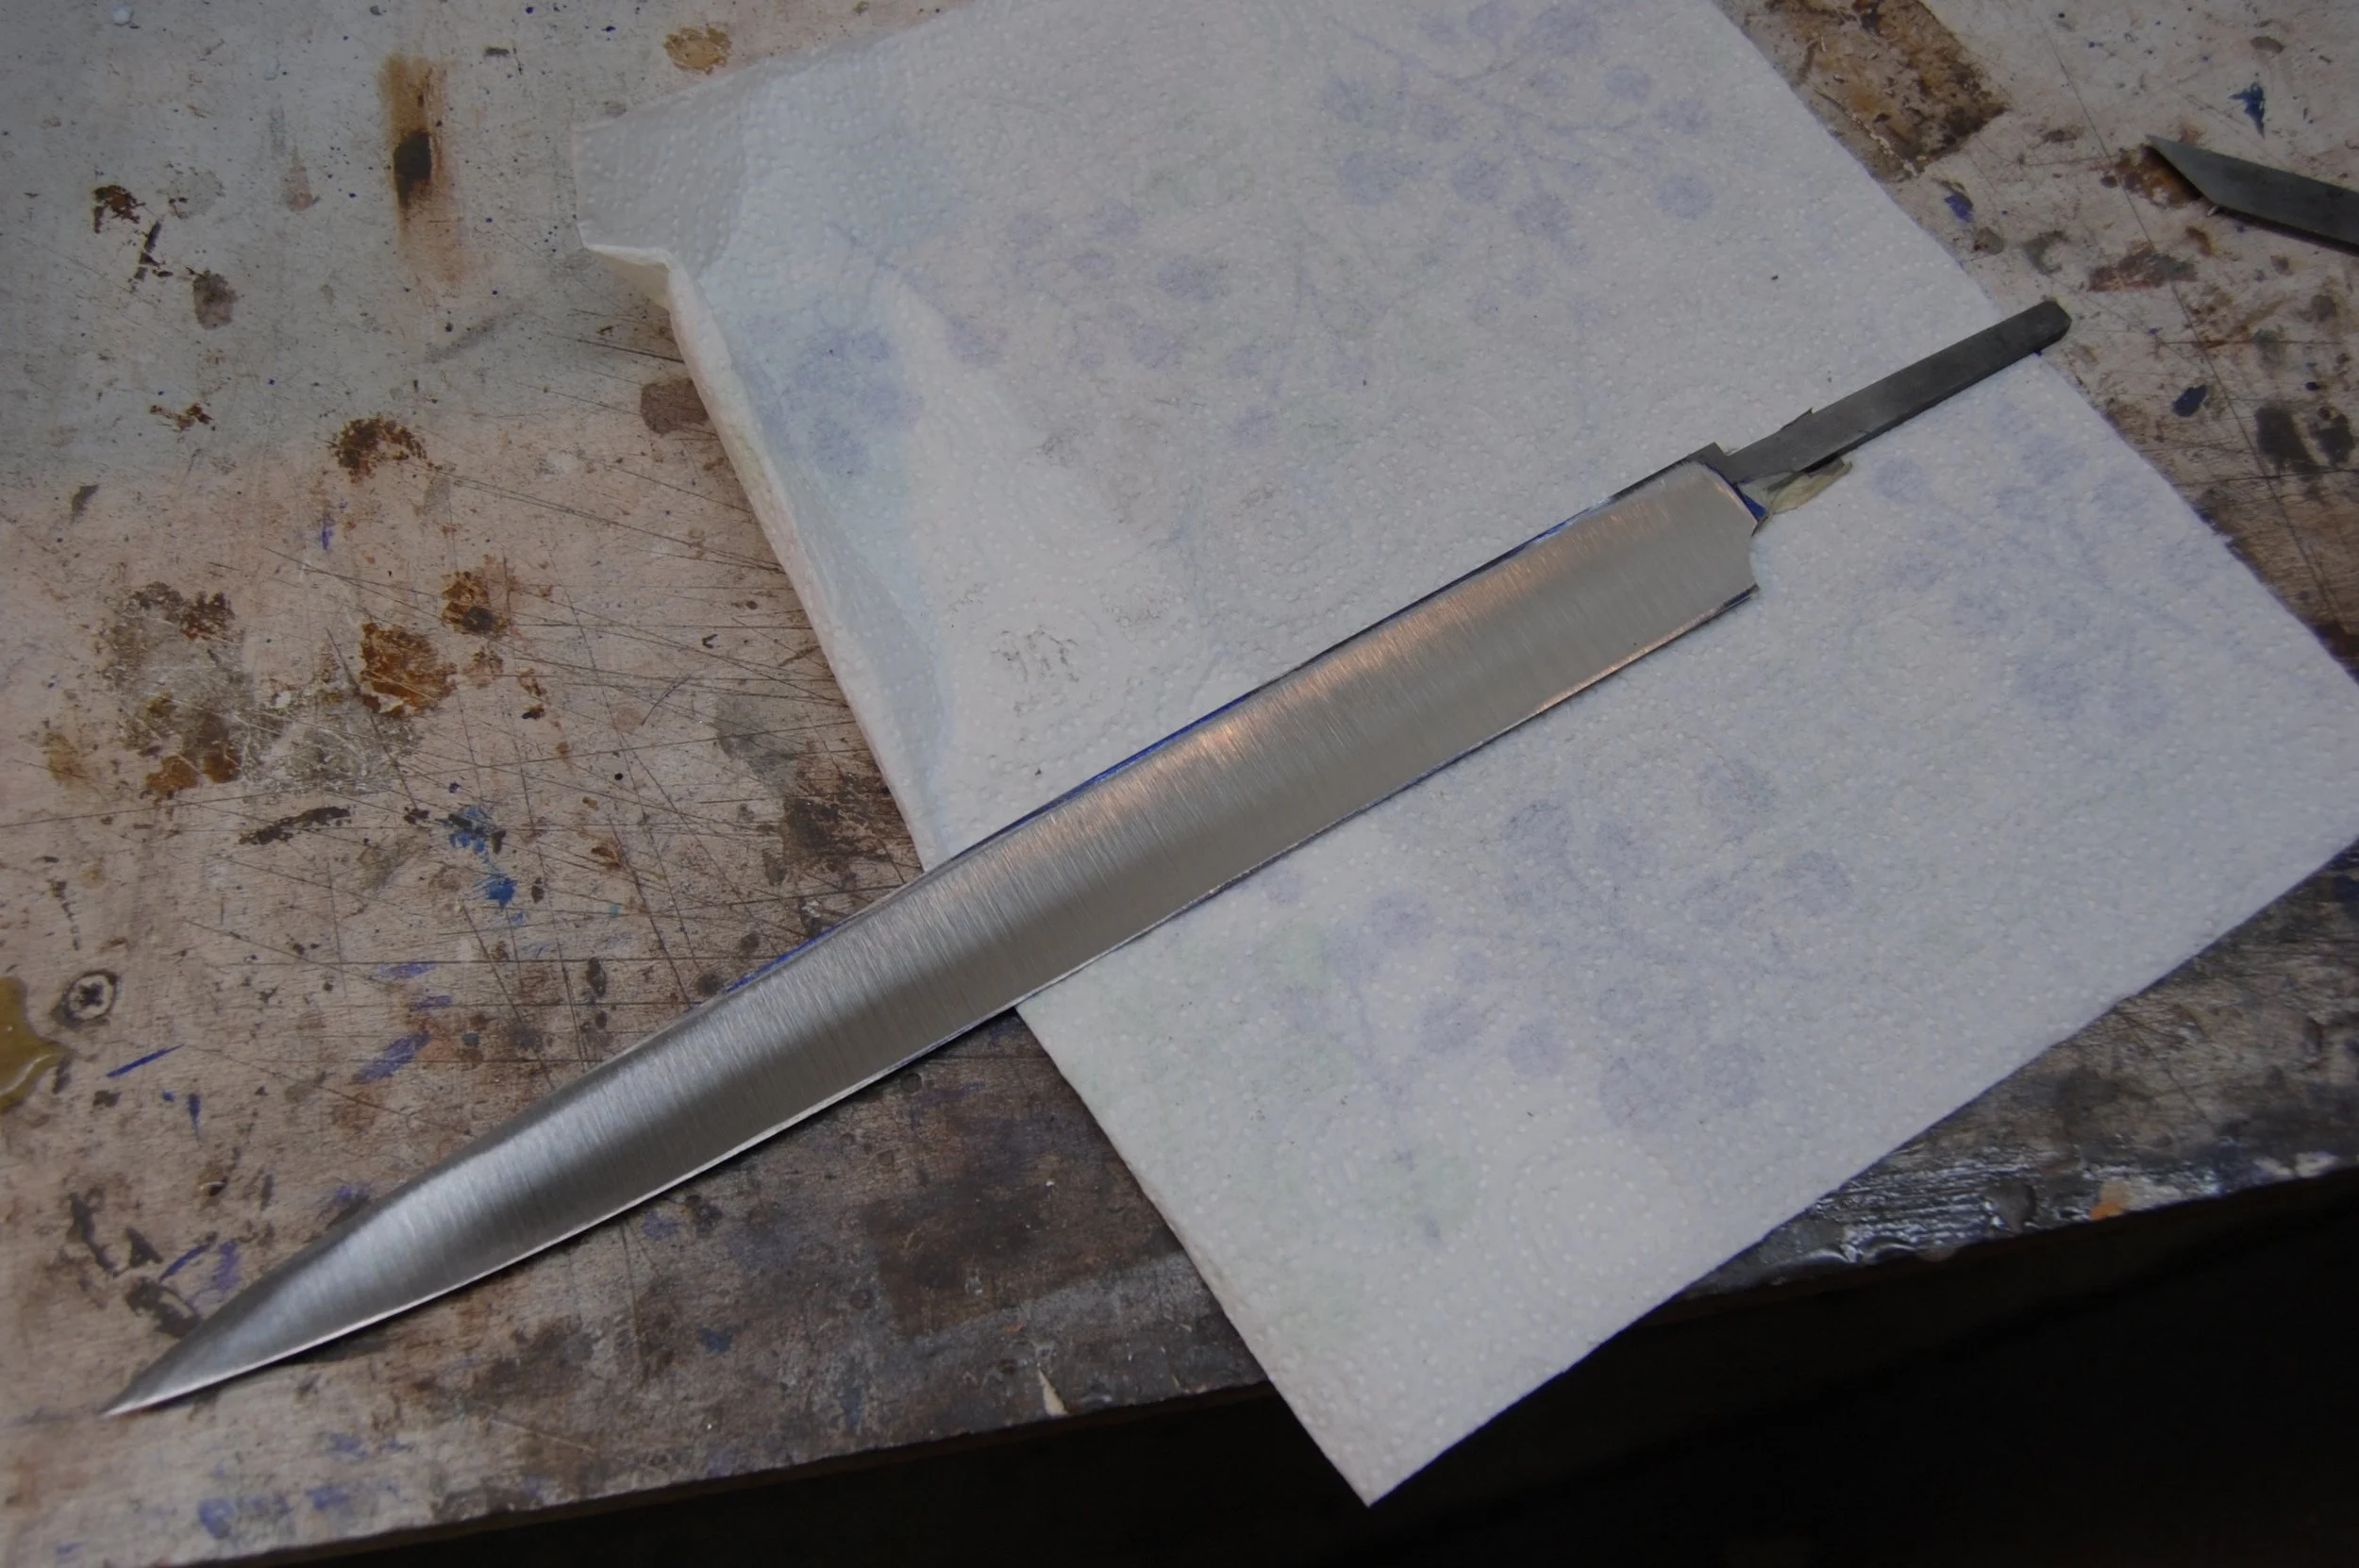
After LOTS of hand sanding I left the hira satin and began moving up in grits for the kireha. Some of these photos are pretty poor, I was focusing on getting the work done and not pics. Sorry!
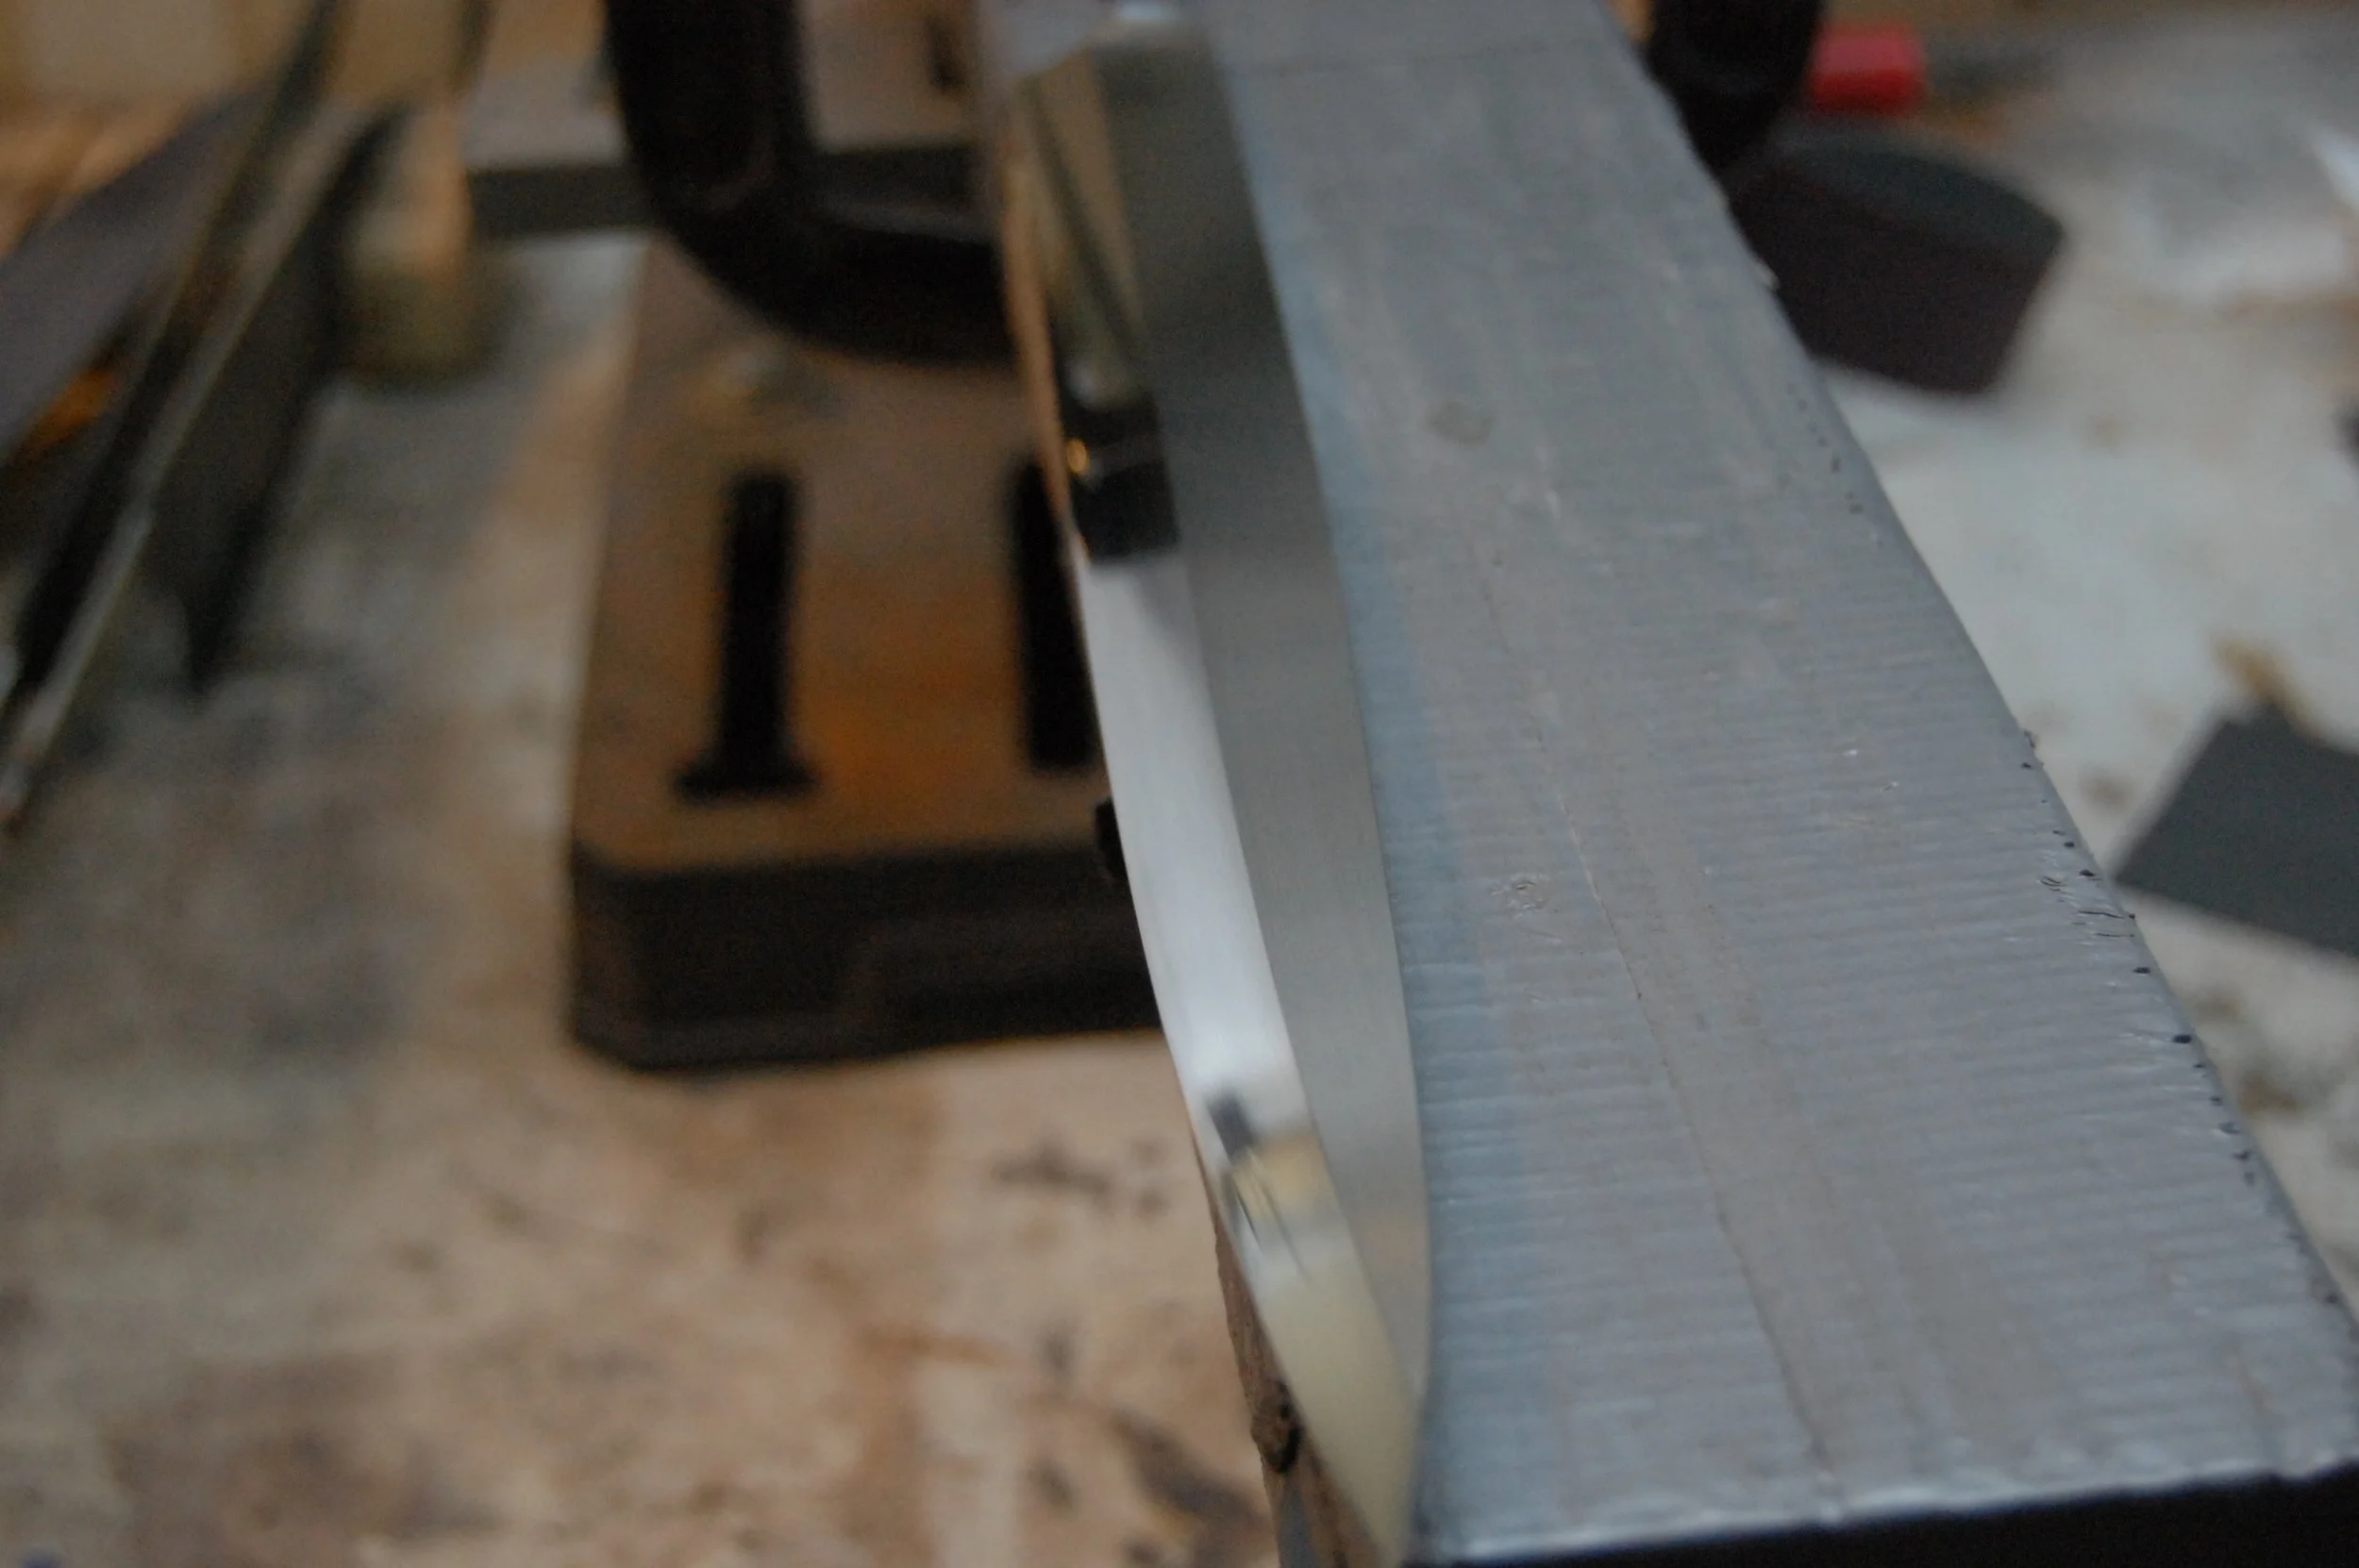
Before I hand sanded the urasuki.
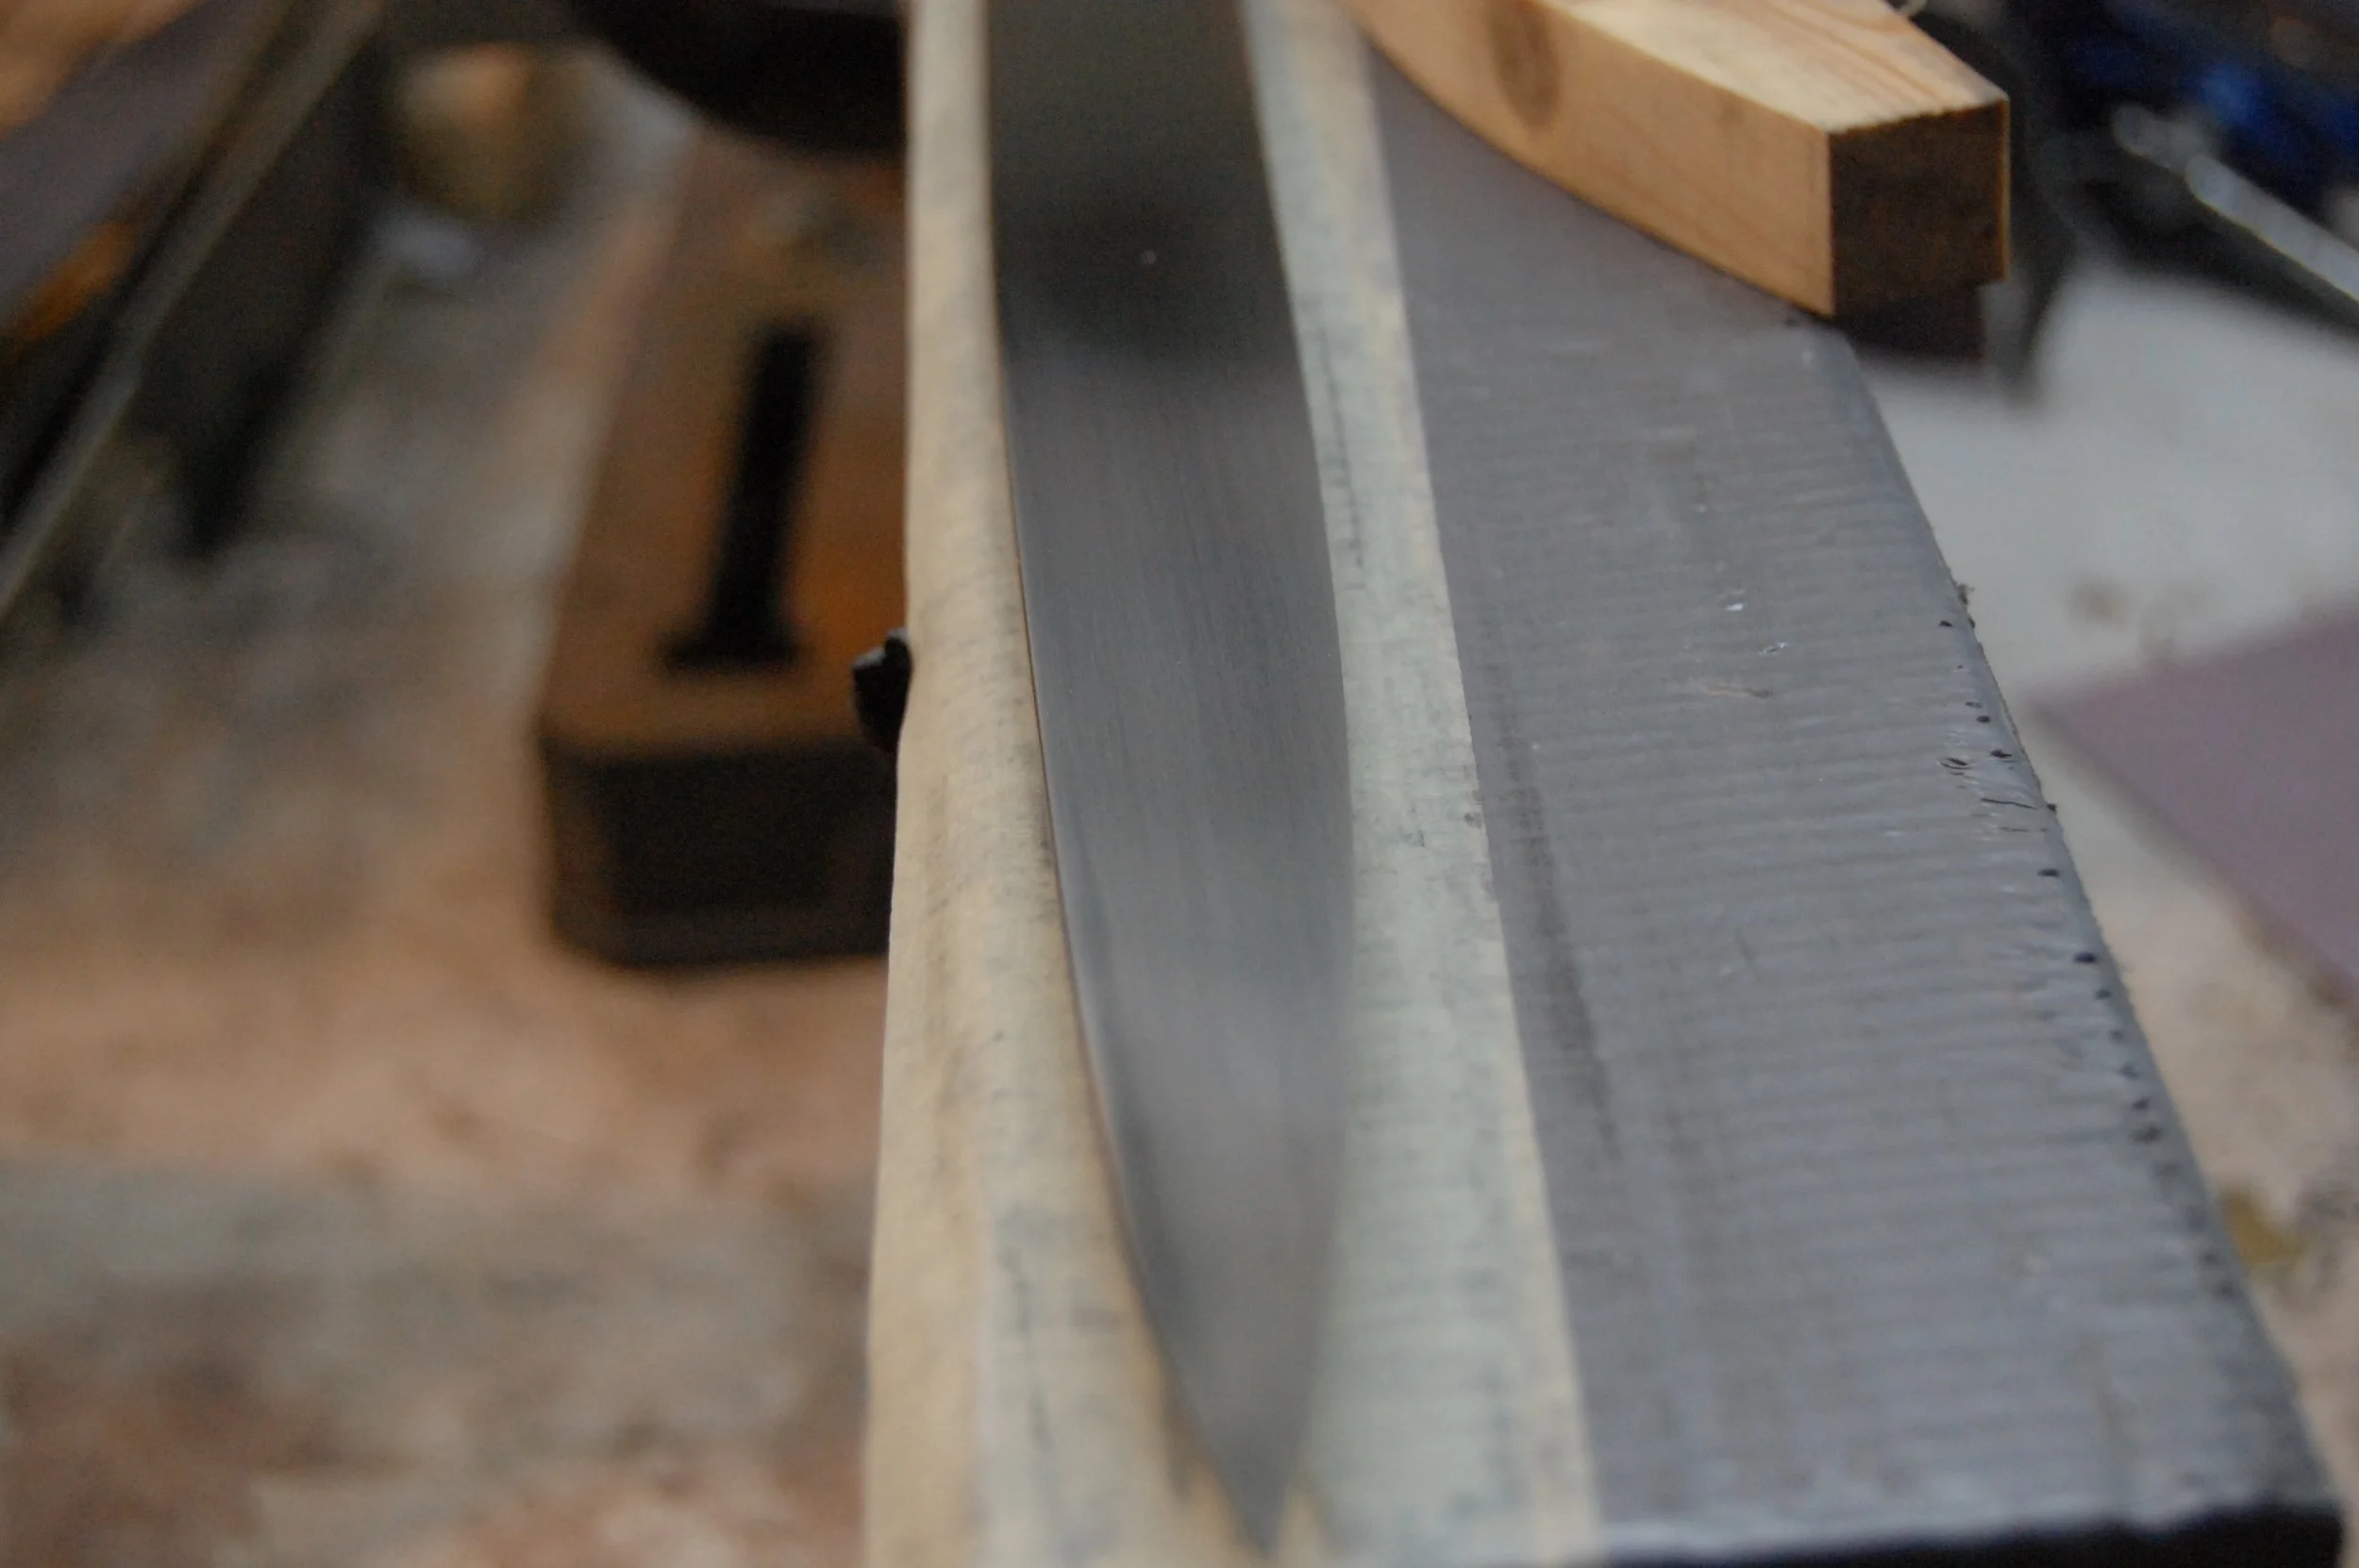
I made a block to match the wheel diameter so I could hand sand the urasuki.
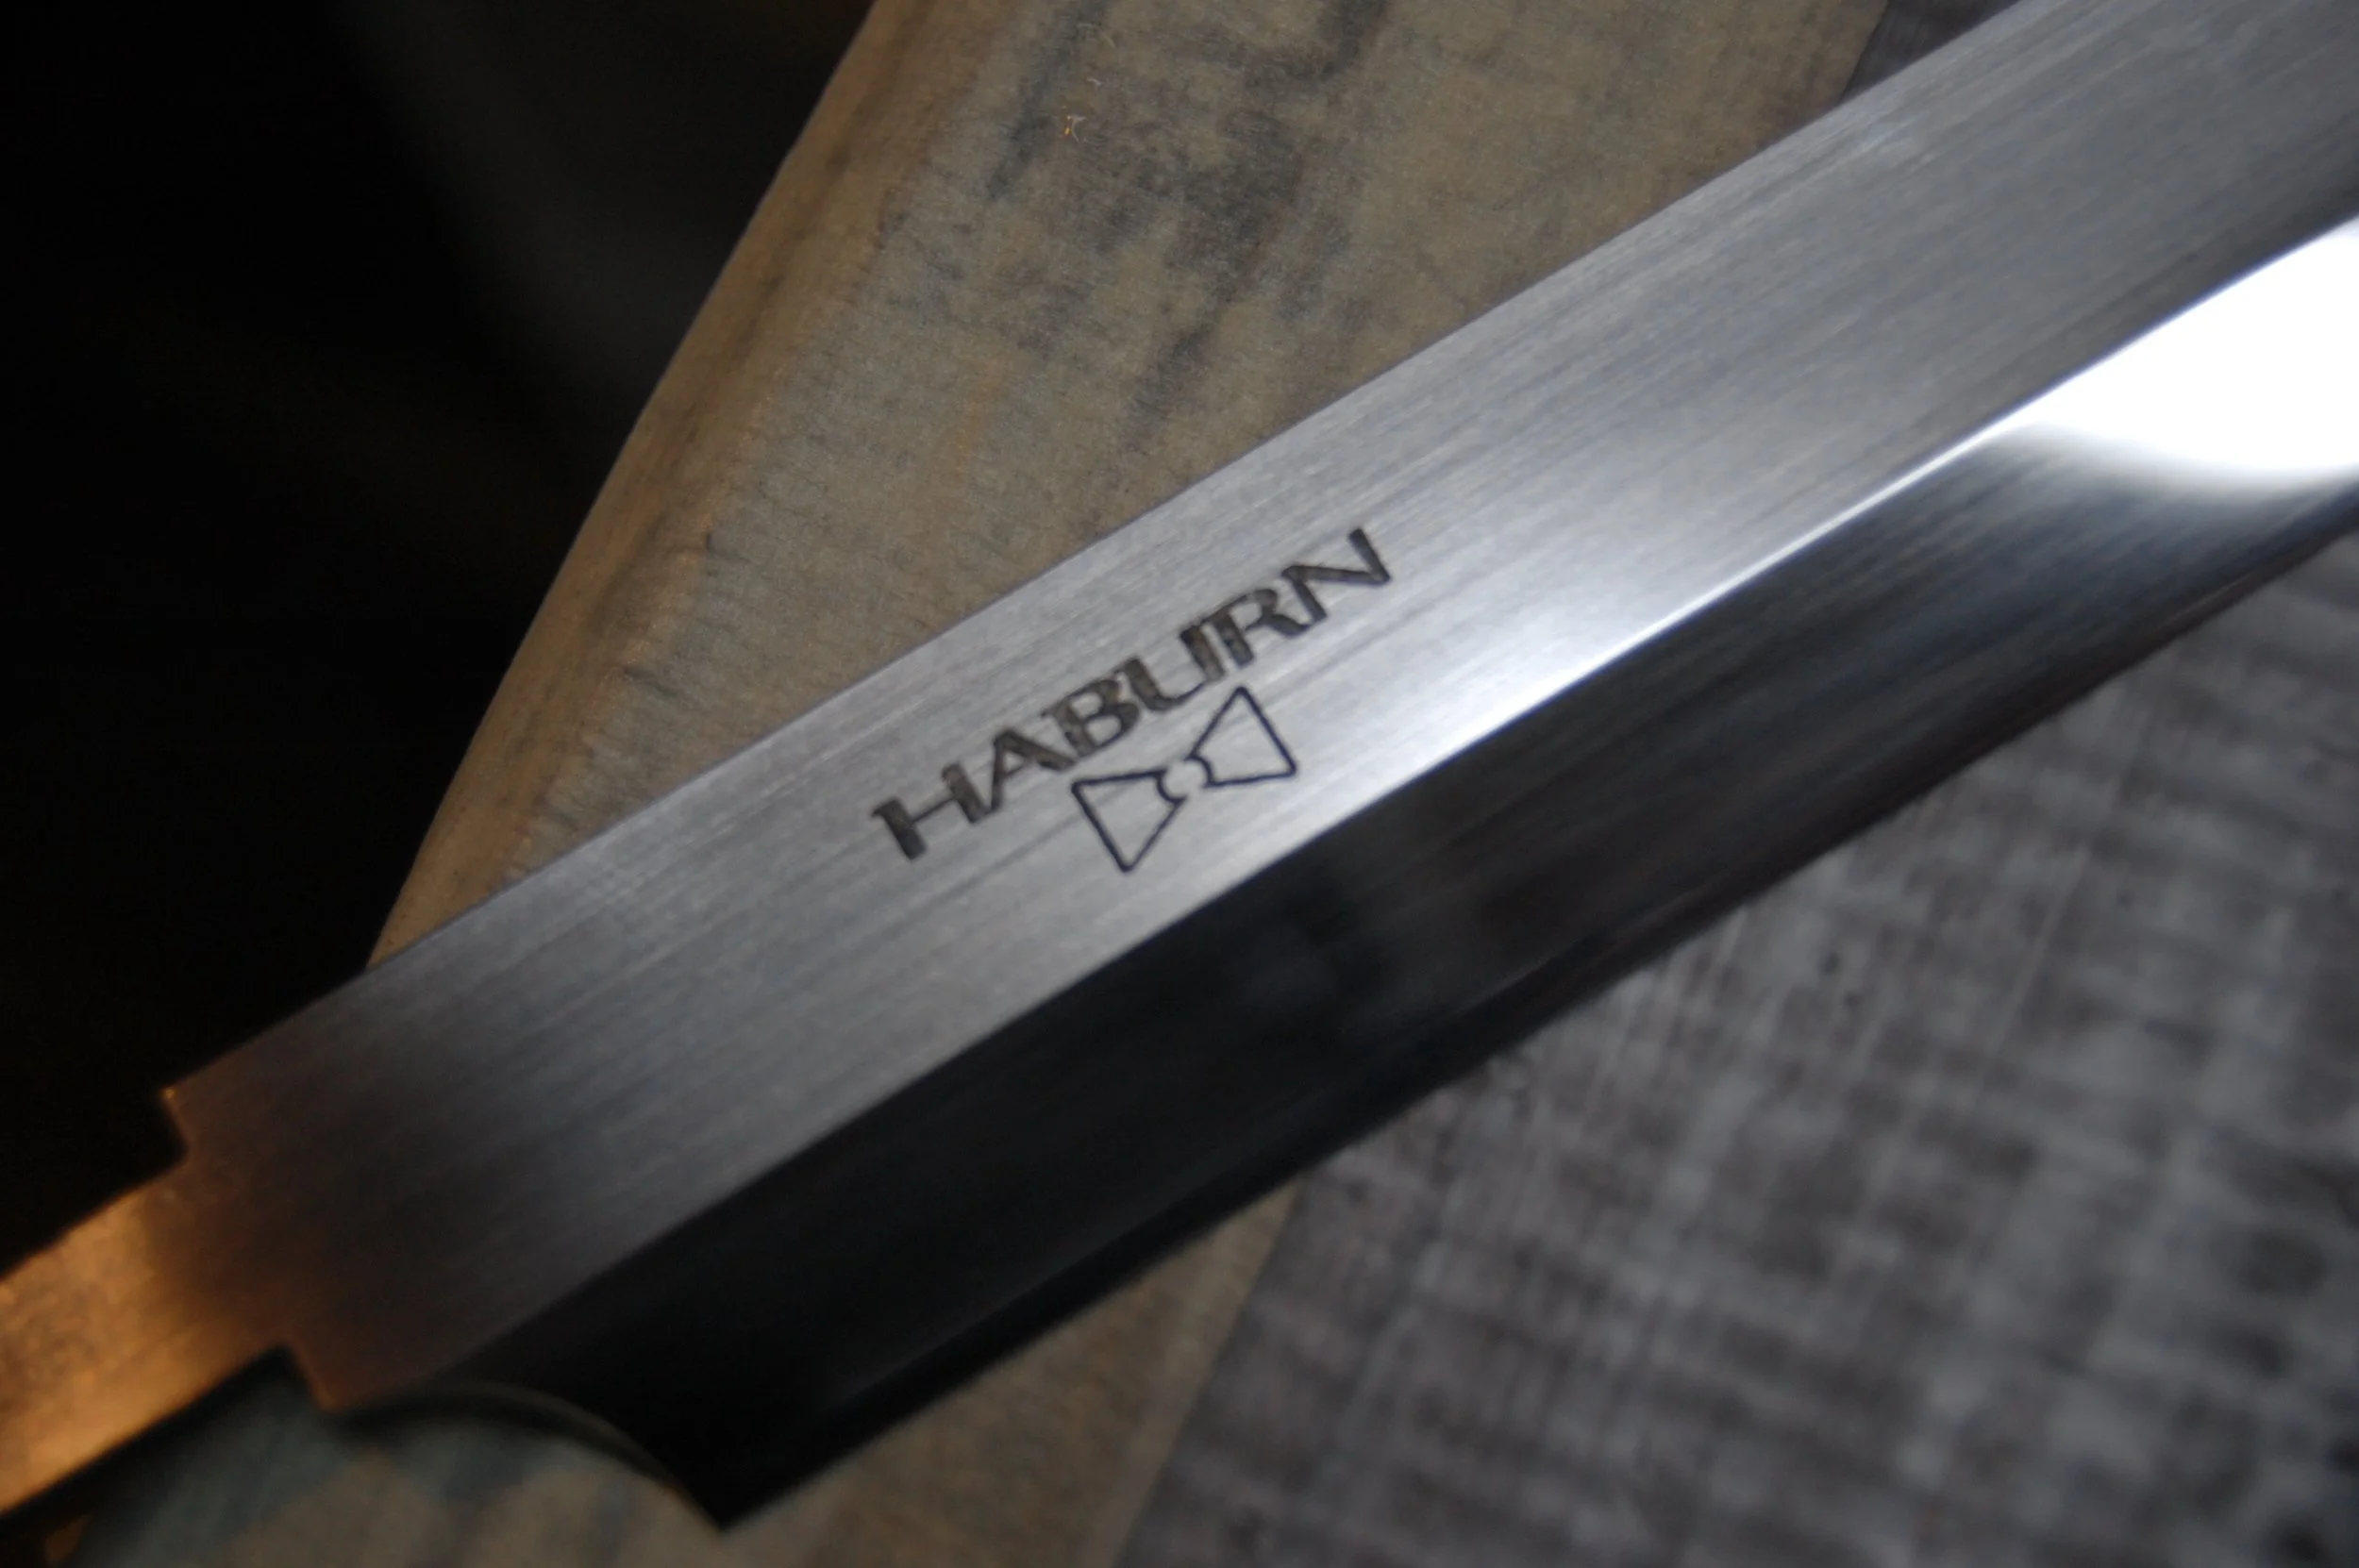
Got the logo etched.
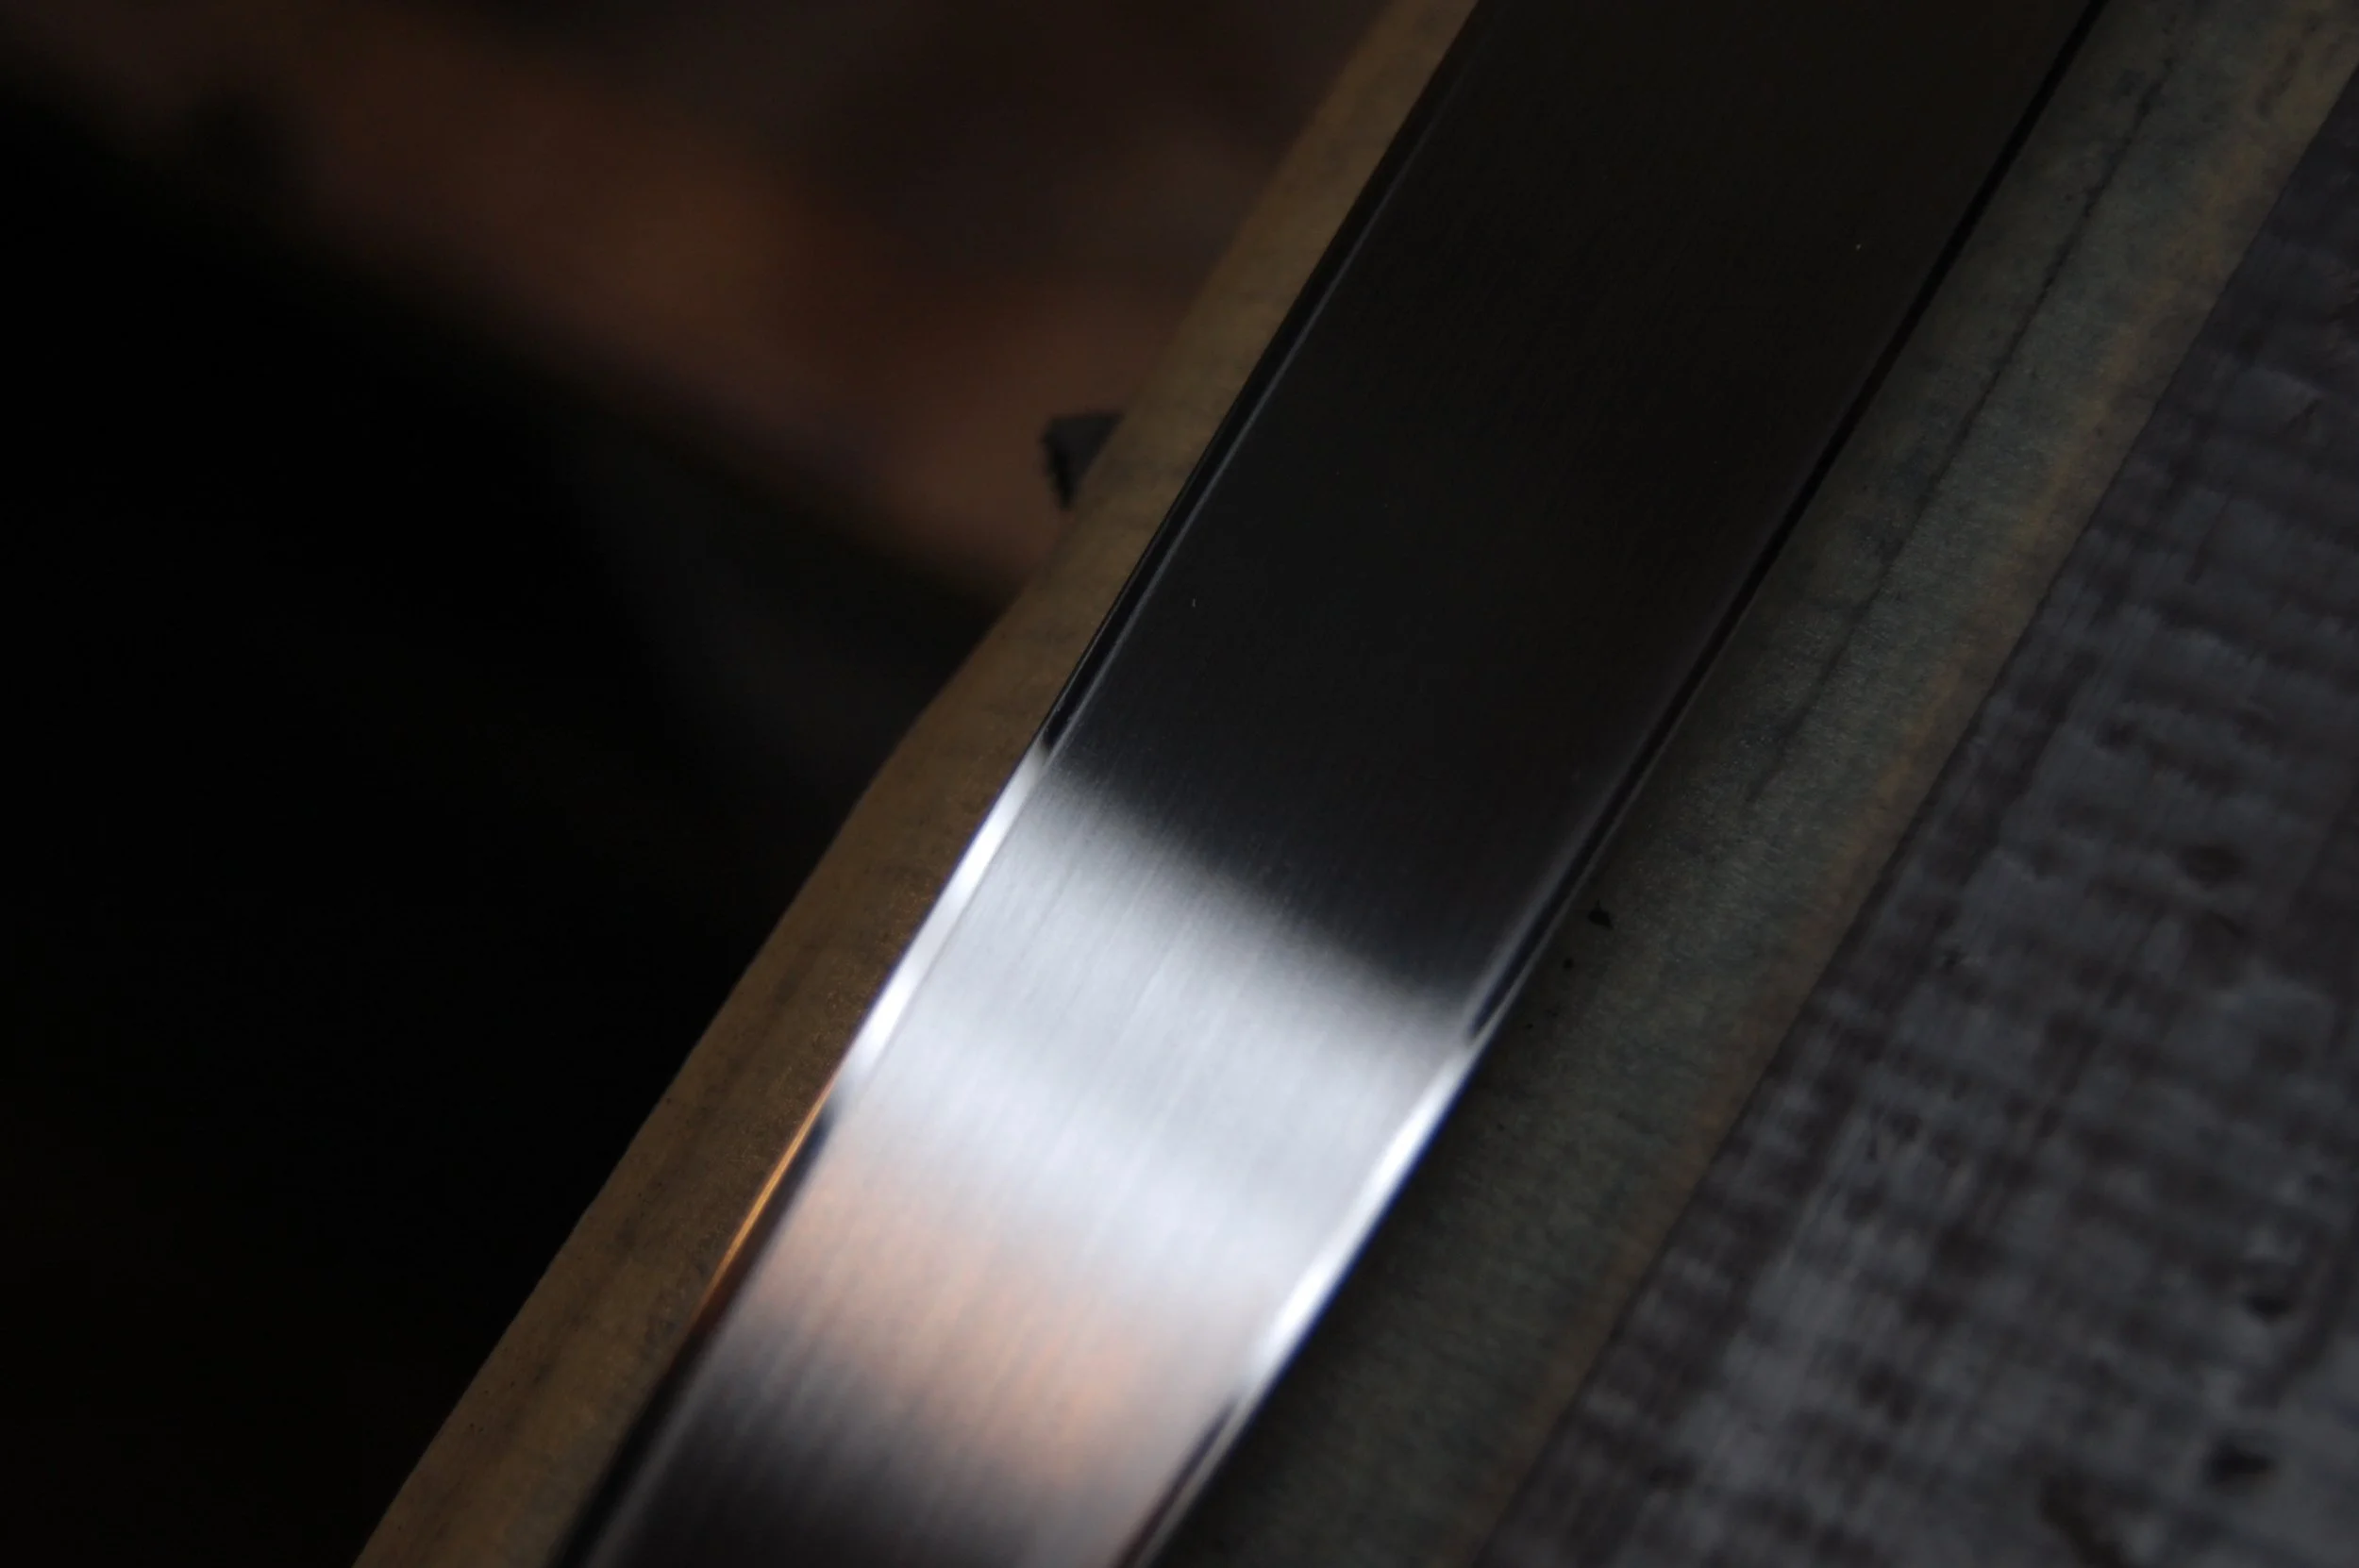
Urasuki hand sanded and the hasaki edge up to 6000.
I skipped some of the handle step photos (oops) but here it is epoxied in and drying.